Leather Tools For Bookbinding
Stamping Extremely Thin Leather?
Earlier this year, a customer visited my shop looking for some leather tools to decorate a bookbinding cover he was working on. It turned out his name is Ronny Fritz, owner of Peregrino Press in Dartmouth, Nova Scotia who does professional bookbinding. He wanted to buy some leather stamp tools for a particular job he was doing which involved bookbinding an old book that was falling apart.
He showed me a sample of the vegetable tanned calf skin which he was planning on imprinting with the new leather tools. Like other bookbinding leathers, it was very thin and I could not imagine how he could imprint such thin leather by striking the stamp tool with a hammer without going right through the leather. I myself am not a bookbinder and work with much thicker leathers and leather craft tools for belts, dog collars, knife cases and guitar straps etc which take deep impressions.
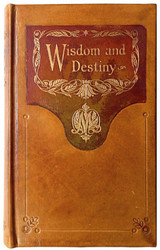
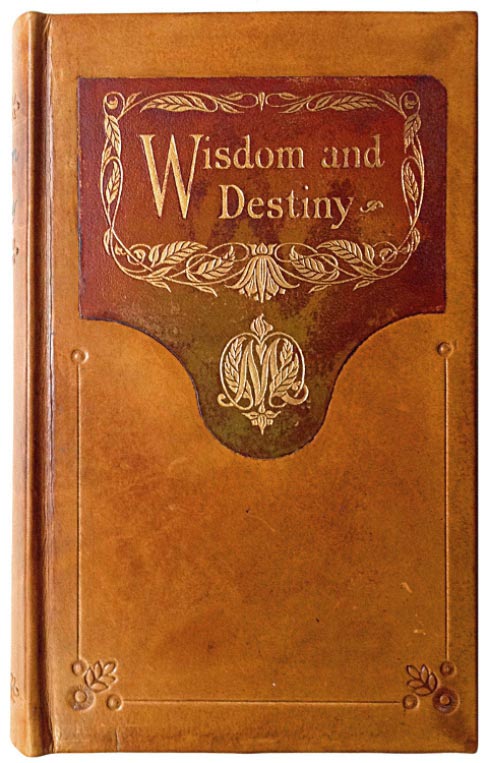
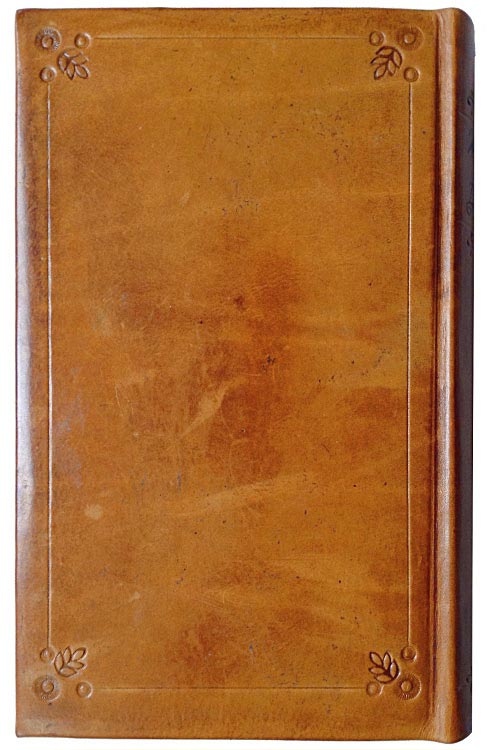
However Ronny said he would send me some info on how he successfully can imprint on these thin vegetable tanned calf skins. He graciously shared these photos and info on how he beautifully imprinted, rebound and restored this old worn book.
|
Front covered design stamped with leather tools that were heated. |
Titling with a gel pen. |
Design lines made with wheel of map measure tool. |
Heating Leather Tools For Stamping
The technique he used to imprint the thinner leather was to use heat with light pressure as opposed to pressure impacts with a hammer which would leave too deep an imprint. He made wooden handles for the metal stamp tools so he could pick them up from the hot plate without scorching his fingers. A 1/4 ” hole was drilled about 3″ deep into 1″ x 1″ x 6″ wood. He used an electric hot plate to heat the tools. (See photo below). Without a thermostat he had to keep testing the tool shaft against a damp cloth until it just sizzled. He tested hand pressure and dwell time on scraps and when things were looking good, he imprinted the actual leather on the book.
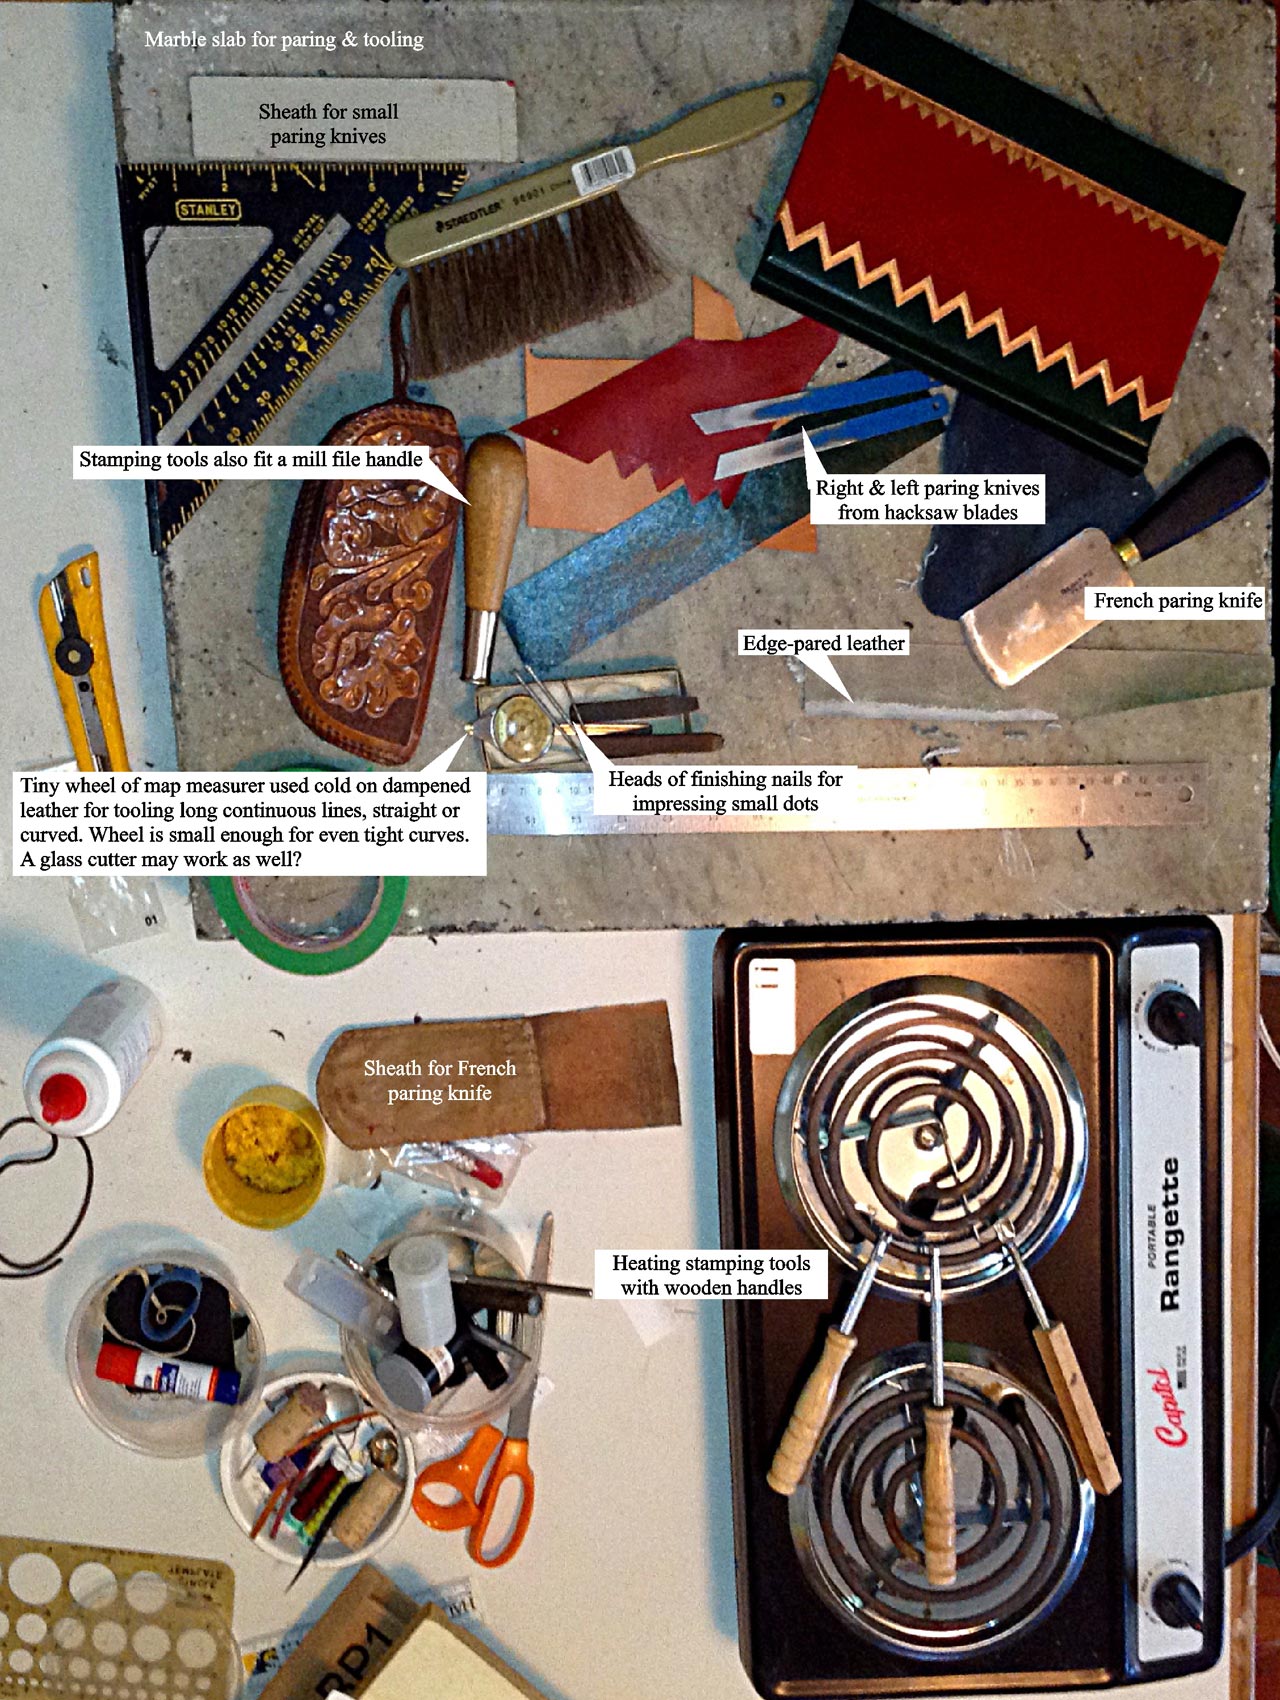
Some leather tools used by Peregrino Press for imprinting leather and bookbinding.
Design Layout For Imprint Tools
Layout of the design elements–lines, fleurons, title patch–was done on tracing paper. This template was used as a guide to transfer the designs onto the leather. First, a light cold impression was made through the tracing paper template. Then the final heated impression was made with the template removed. Just hand pressure was used to push the leather tools into the dampened leather so as to not cut through the delicate calfskin. He did a few touch ups to try to make all impressions the same “intensity”.
If you look closely at some of Ronny Fritz’s tools (shown above), you will see some non-traditional items that were used with ingenuity as leather tools to imprint the leather. Lines were made on dampened leather with an unheated tiny wheel of an old map measurer drawn along a straight edge, and the terminal dots with the head of a 3d finishing nail. The title was written with permanent ink using a o.5 mm black gel pen.
Bookbinding Project Notes
To see the long process of rebinding this book that was falling apart and refurbishing it, view the the photos and notes below that Peregrino Press shared with me. Bookbinding is a trade in itself as you can see from the many steps such as removing worn parts, cleaning, trimming, hand sewing, mounting, rounding, molding, pasting, polishing, titling & tooling. Many thanks to Ronny Fritz of Peregrino Press for all the information provided for this article on this particular bookbinding project.
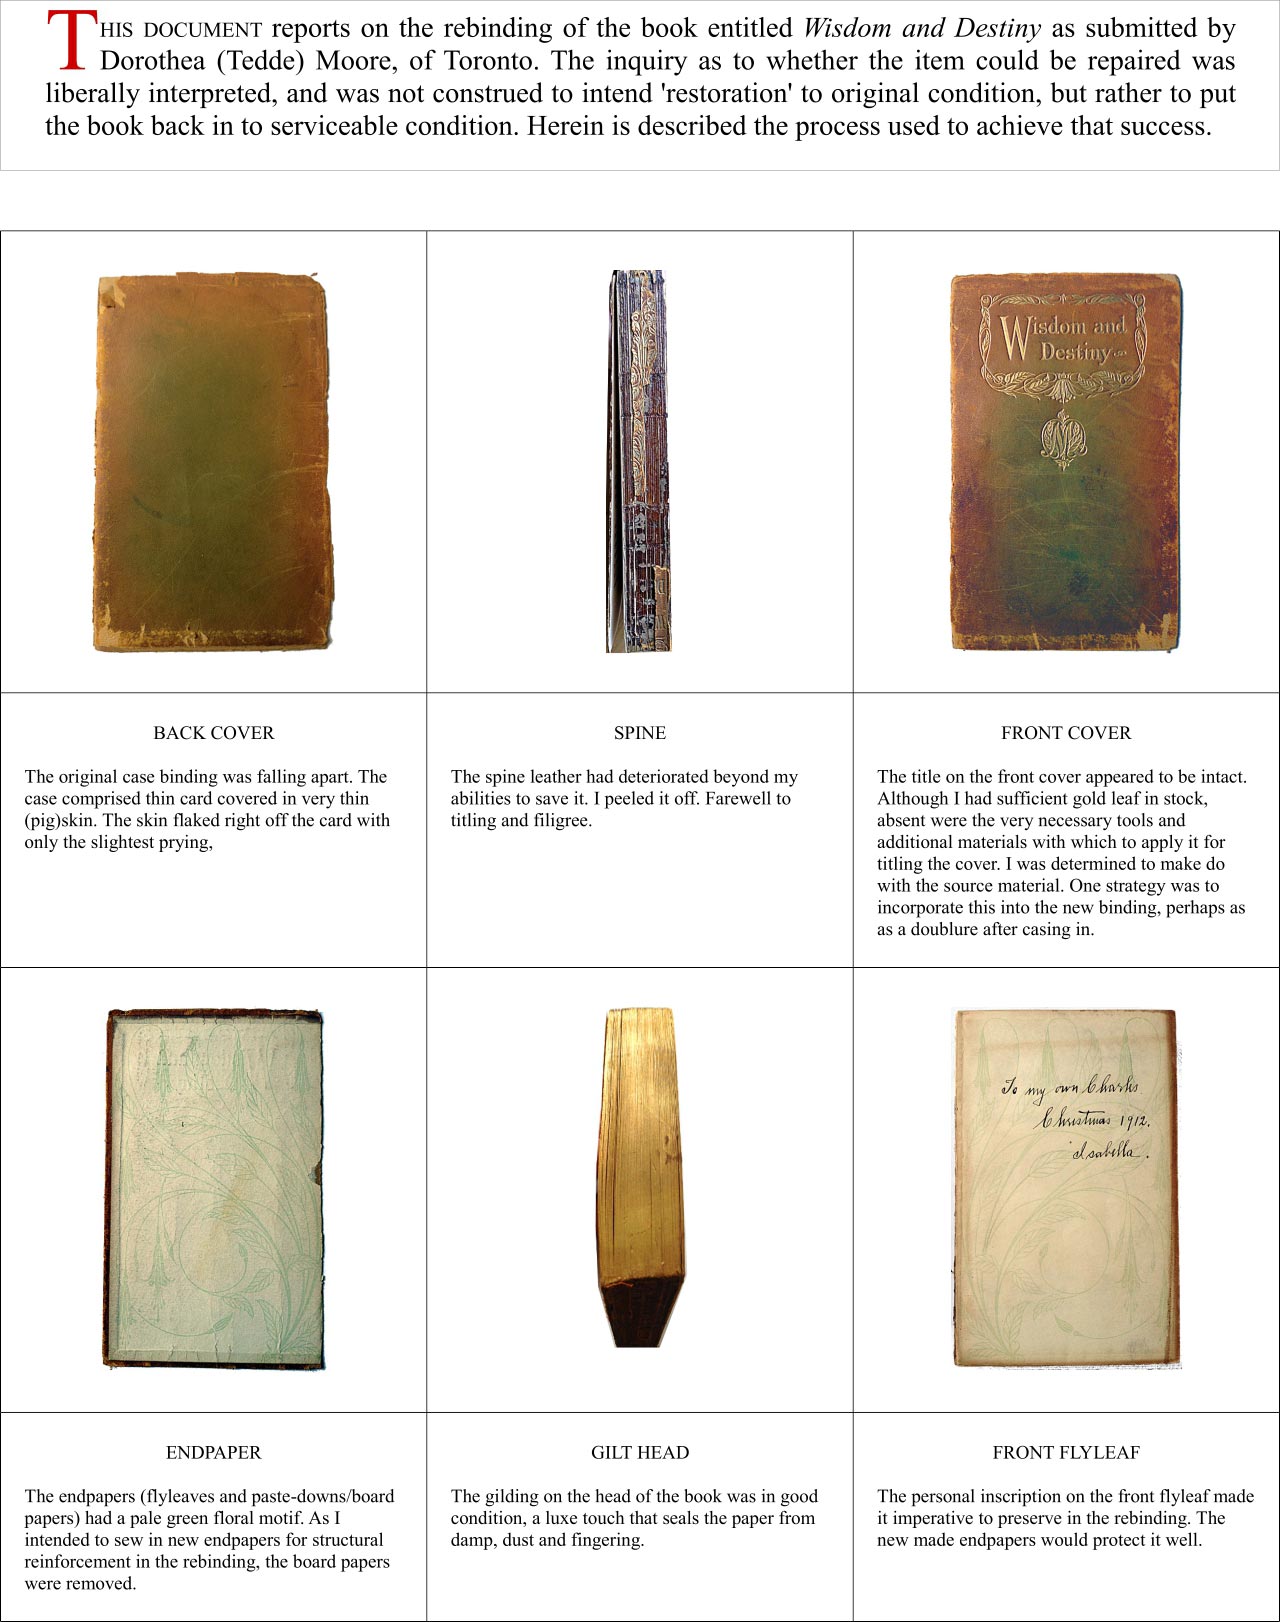
Page 1 – Bookbinding Notes from Peregrino Press
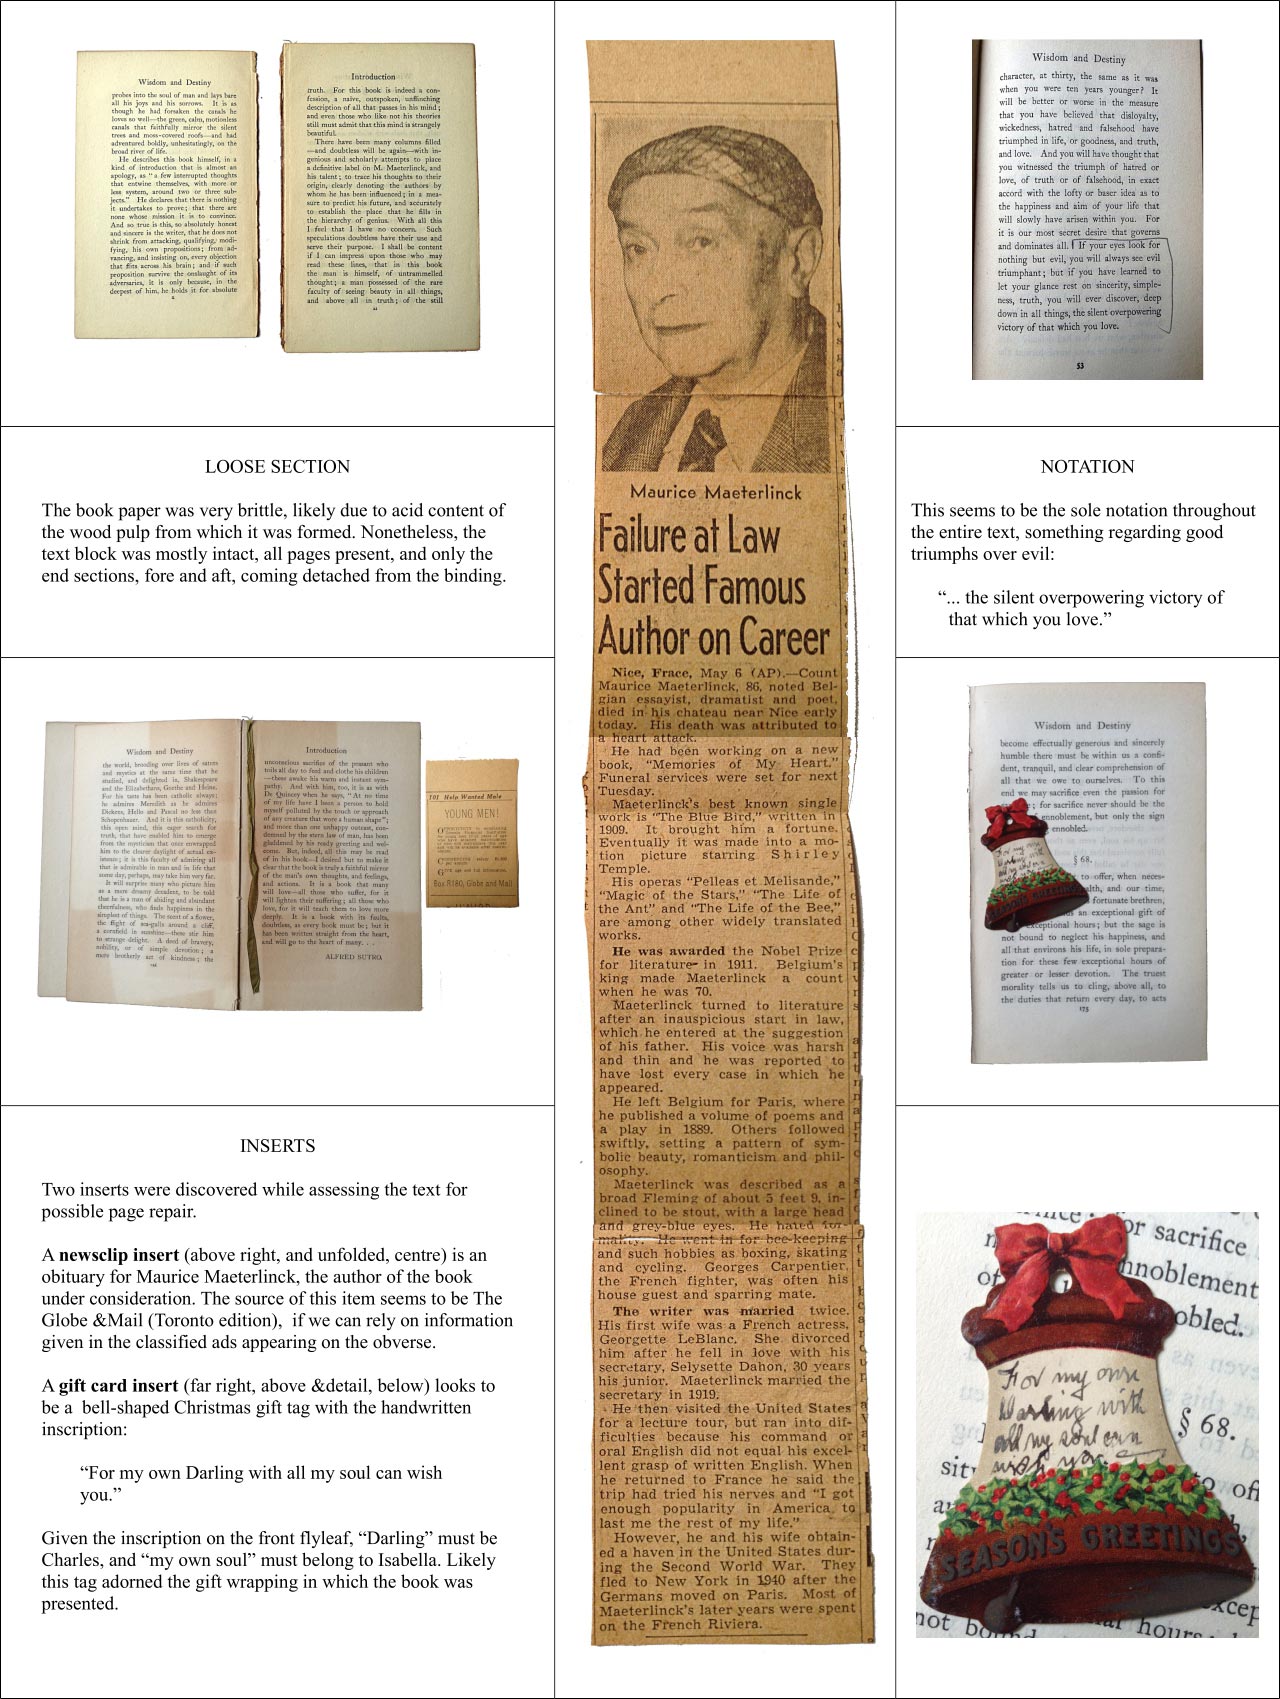
Page 2 – Bookbinding Notes from Peregrino Press
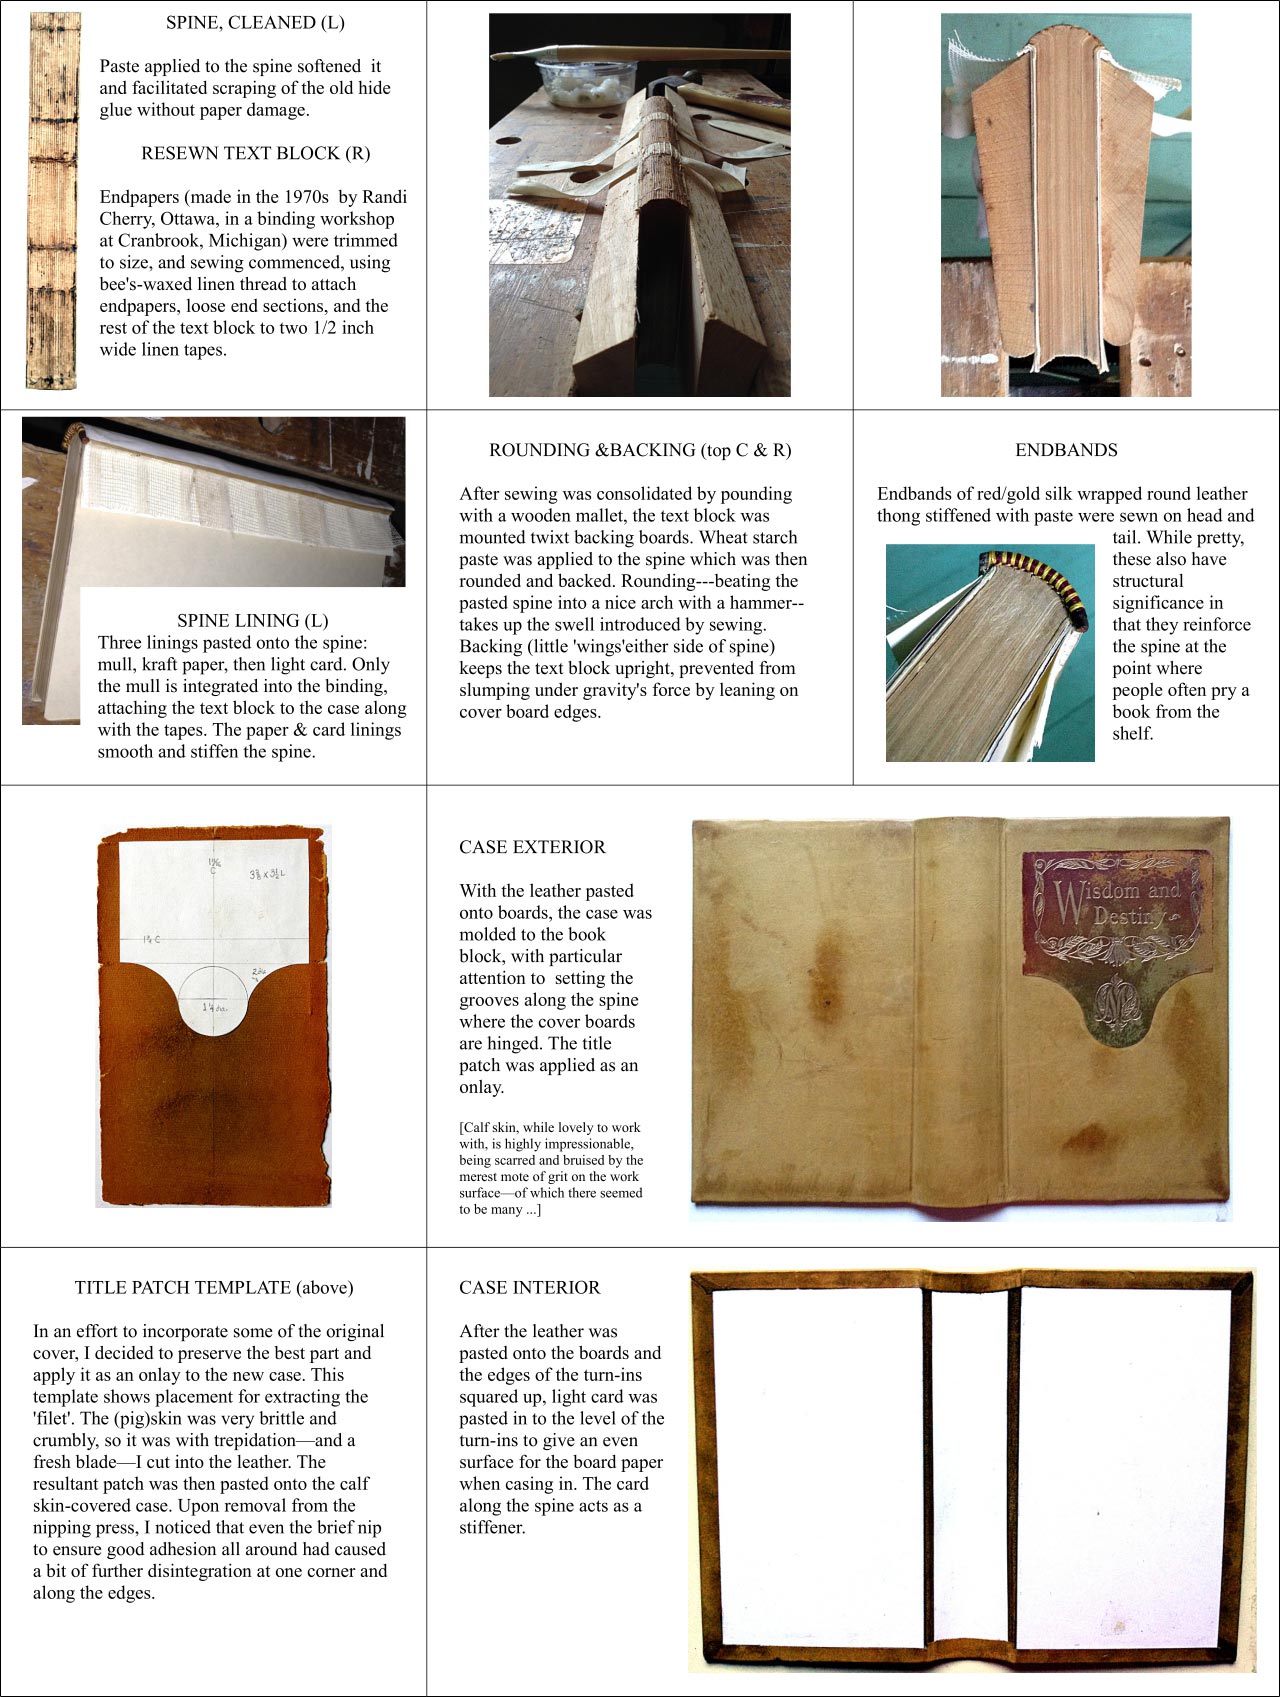
Page 3 – Bookbinding Notes from Peregrino Press
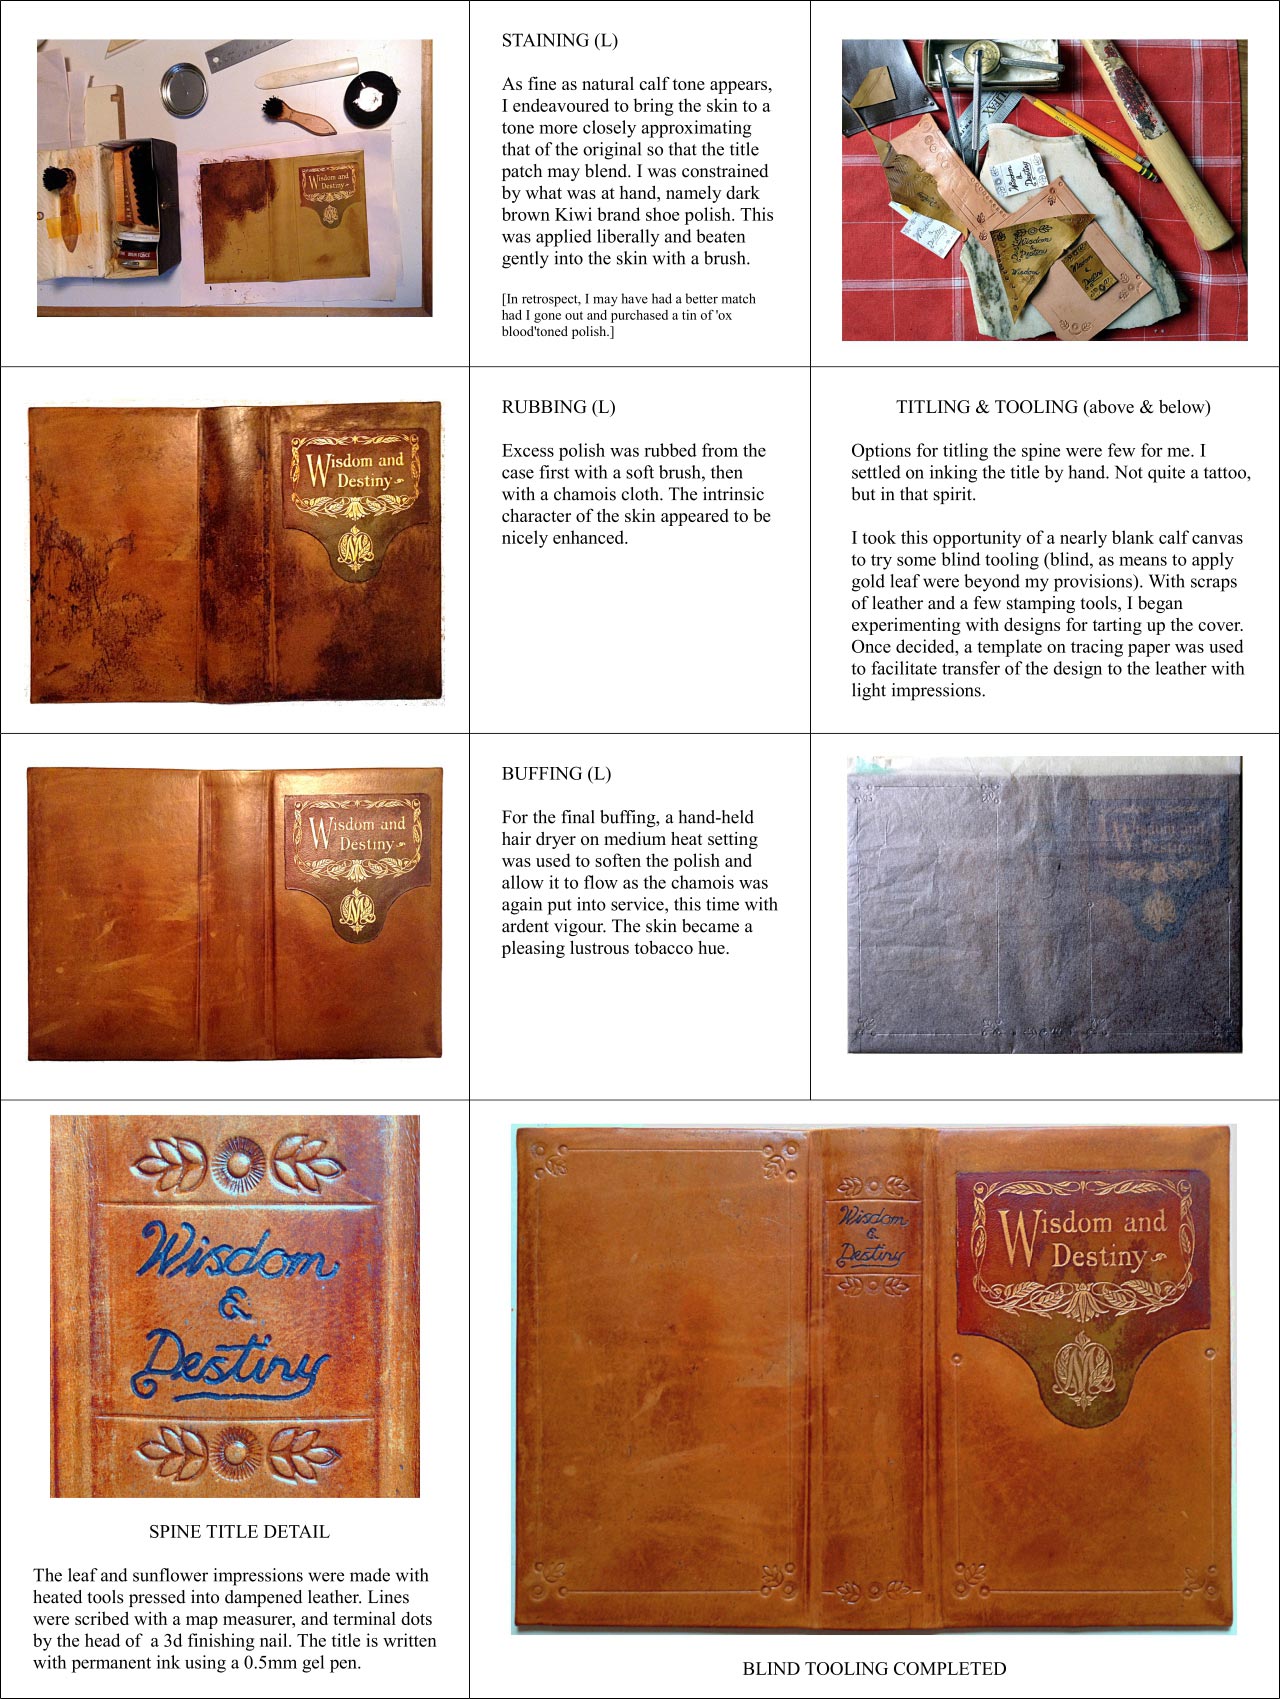
Page 4 – Bookbinding Notes from Peregrino Press
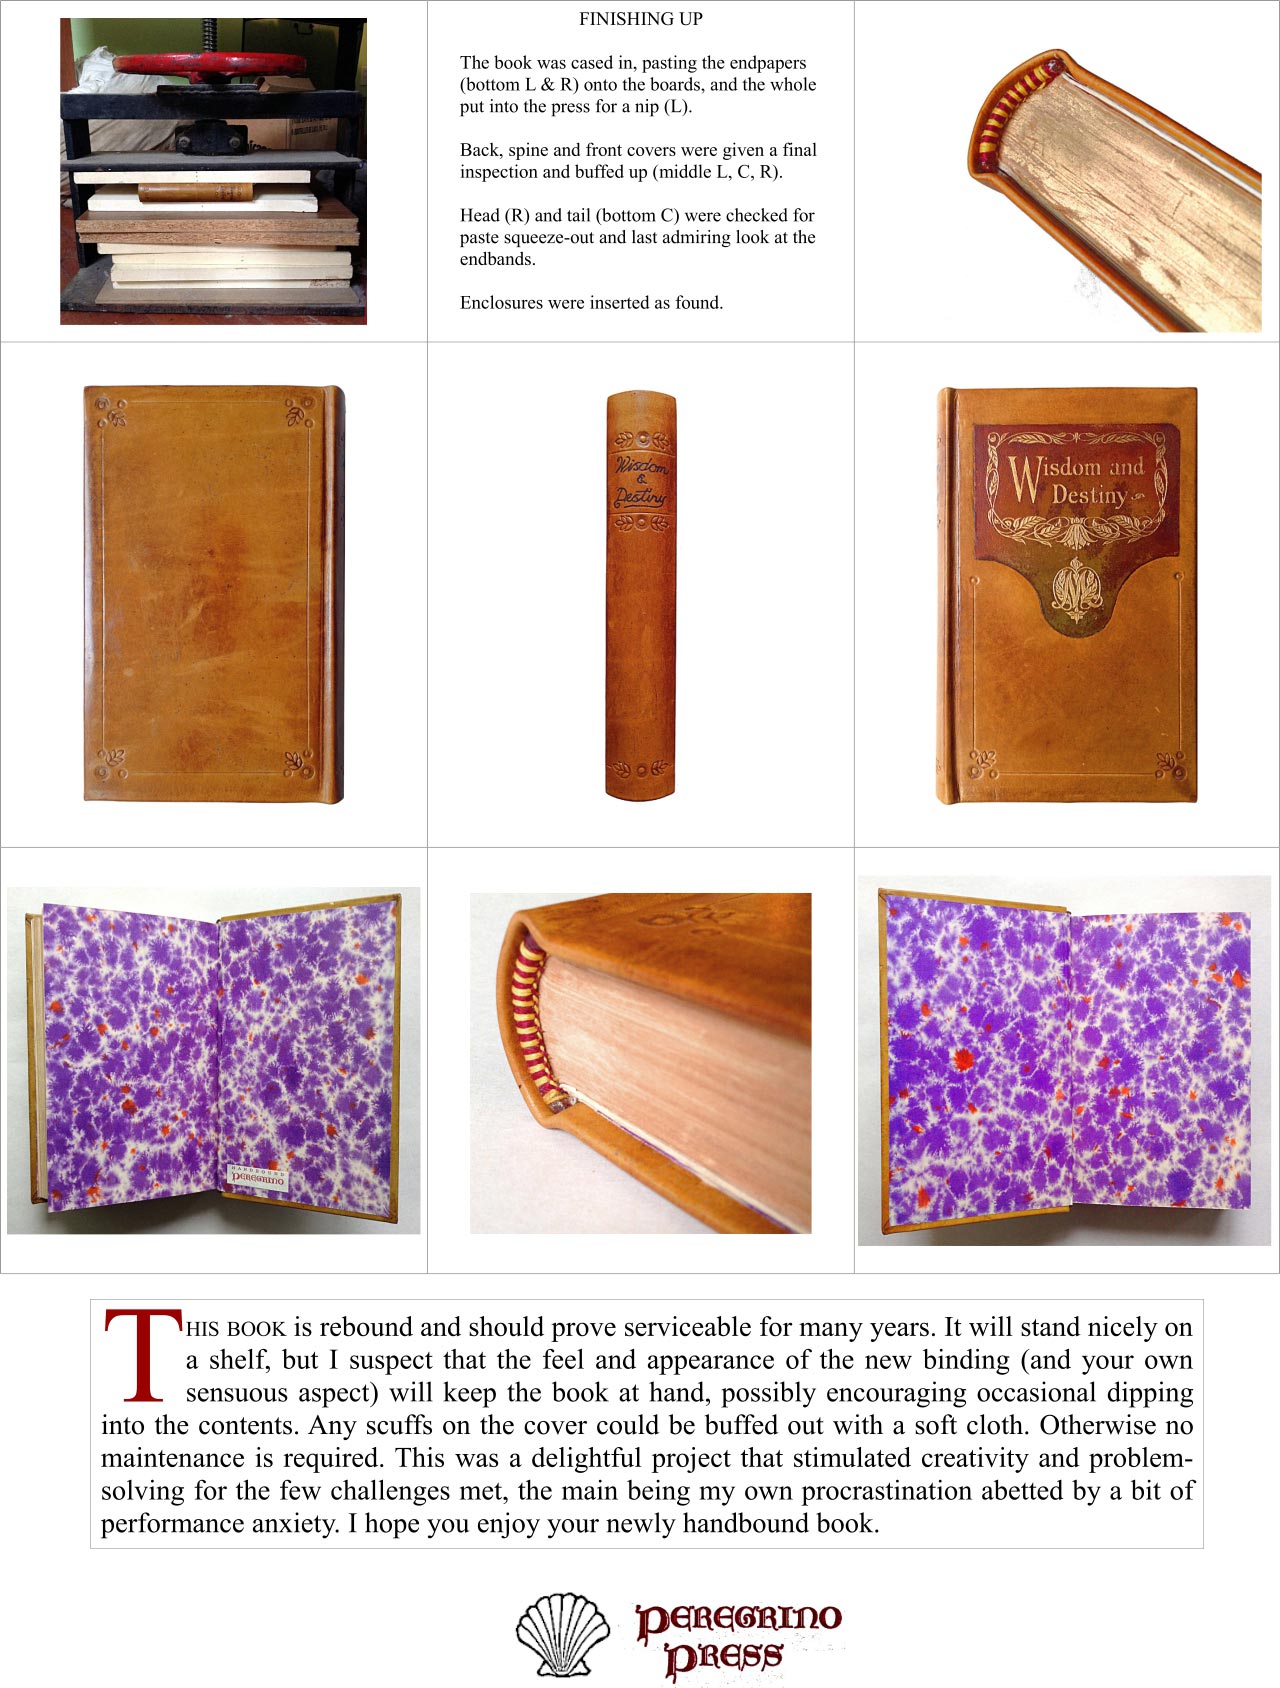
Page 5 – Bookbinding Notes from Peregrino Press
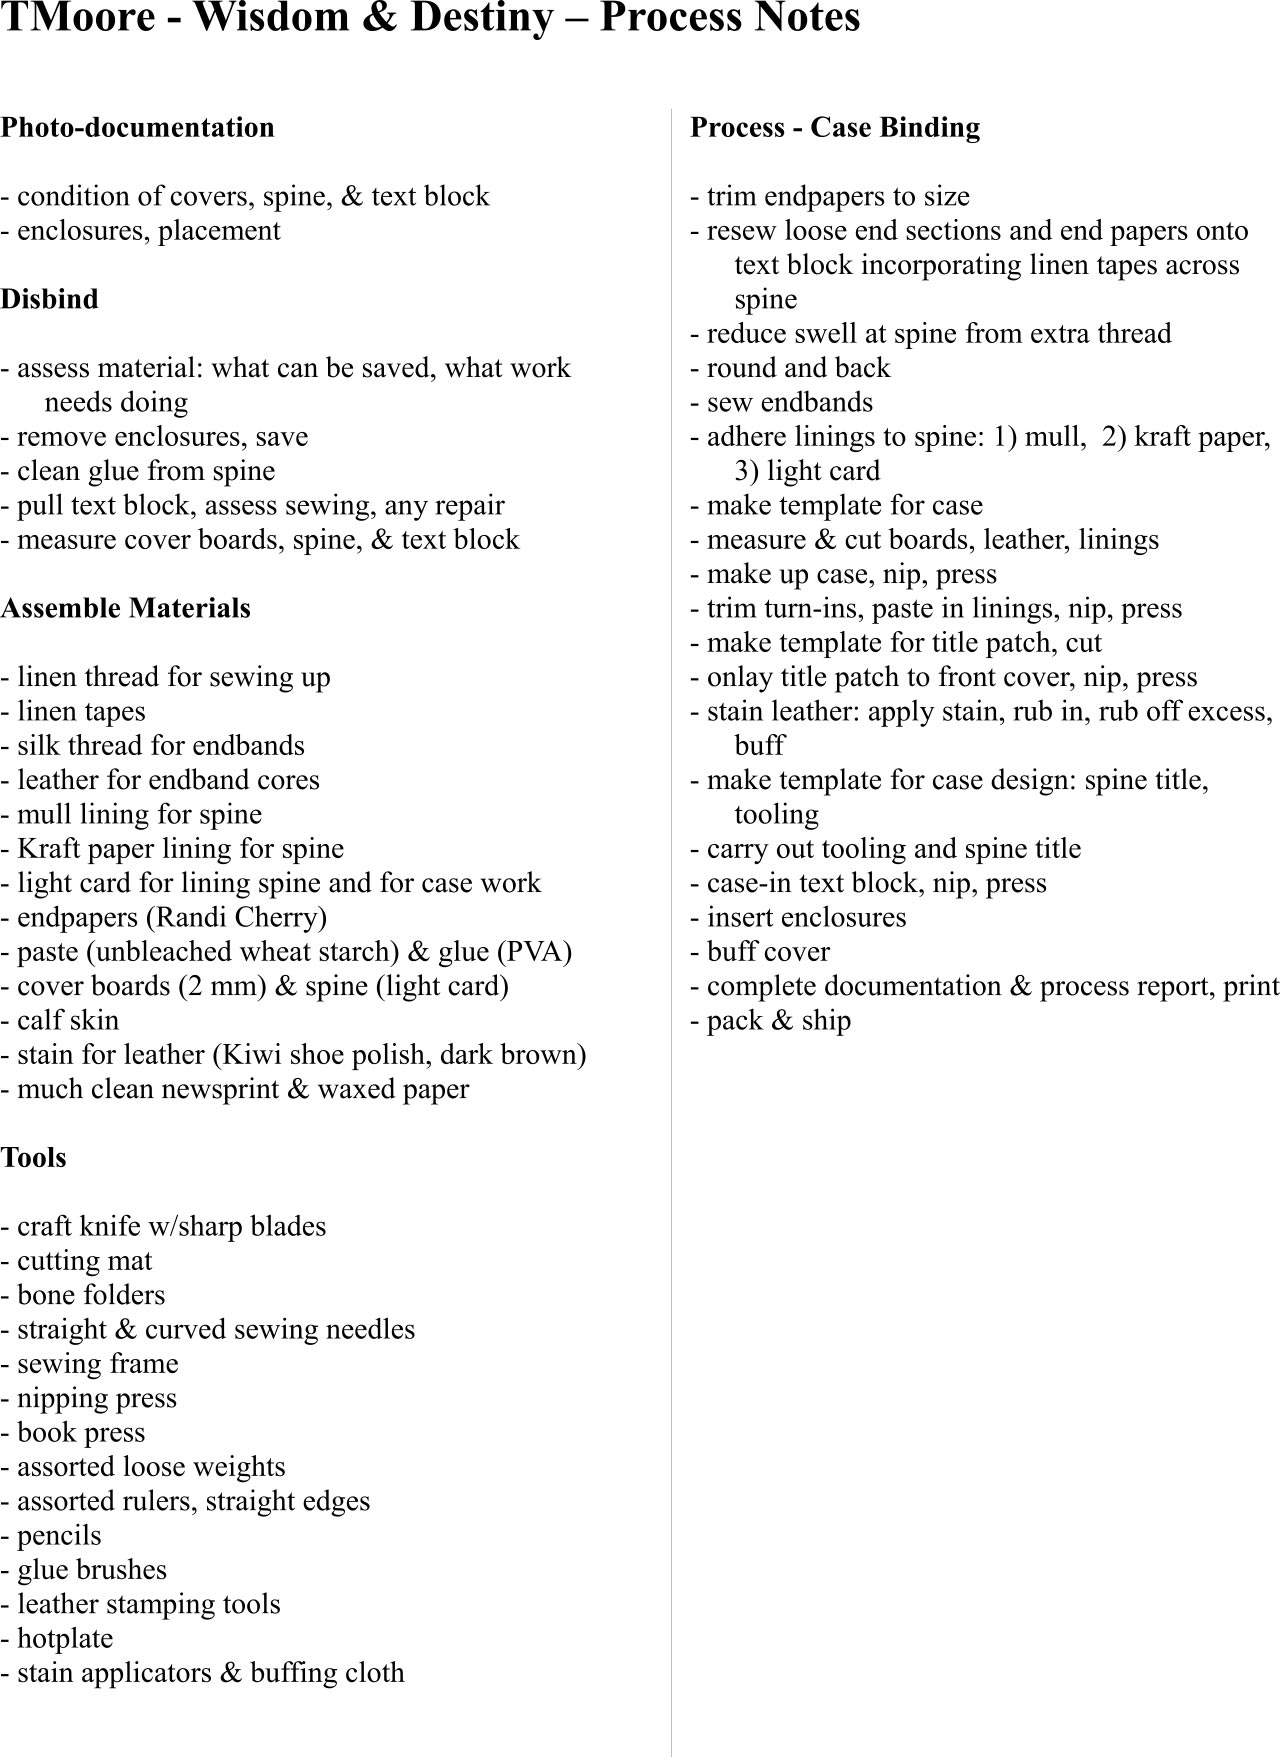
Page 6 - Bookbinding Notes from Peregrino Press

