How To Make A Leather Belt Key Holder
Leather Lanyard For Keys
Each leather belt key holder shown in this article was made using 5-6 oz scrap vegetable-tanned leather. Vegetable tanned leather, also called tooling leather, is leather that was produced using tannin from natural plant materials such as tree bark. This results in a firmer leather that can be stamped with designs. The 5-6 oz is a measurement for leather that means it is about 5/64 - 6/64 inch thick.
For this quick, easy project you will need one swivel snap or scissor snap of any width, one large jacket snap with long post (post and stud), and one large jacket snap with regular cap post (cap and socket). You will also need a tool for punching holes, a snap setting tool and a dot snap anvil.
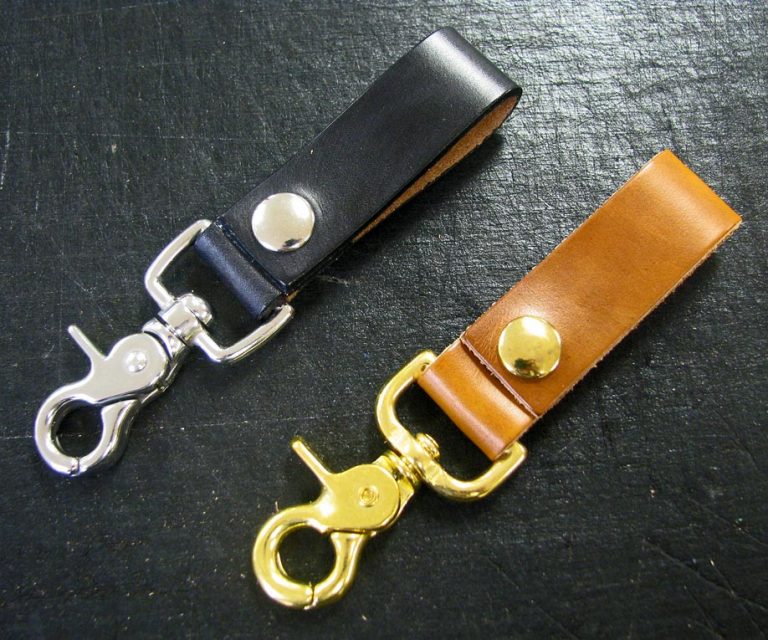
Leather belt key holders in black and natural leather.
Preparing The Leather
This project used scrap leather which had already been dyed, treated with leather conditioner, and polished. This is a great way to use up your small pieces of leather. If starting with natural undyed leather, cut your strap out first and then treat it in whatever way you prefer. Alternately you can leave it untreated. Undyed, untreated vegetable tanned leather will darken naturally over time and attain a light golden brown patina.
To figure out the size of strap you will need, measure the inside width of your scissor snap’s loop. The strap should be cut to this width, or very slightly narrower. Next, measure the width of your belt. The length of the strip you cut should be twice your belt width, plus 4 3/4 inches. This measurement doesn’t need to be exact, since you can adjust your snap placement in the next step to make a loop that fits perfectly. If you’re unsure how long of a strip you need, err on the longer side.
Draw an appropriately sized rectangle onto your leather. Then cut out your strap using a sharp utility knife and a straight edge.
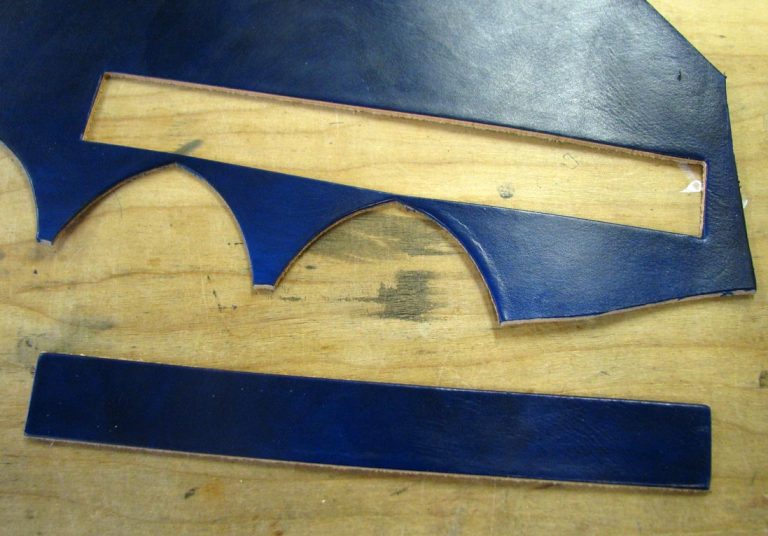
Cut the strap for your key fob out of scrap leather.
Punching Holes for Snaps
Measure 3/8” from one end of your strap. Make a mark in the center of the piece, to indicate where you will punch the first hole.
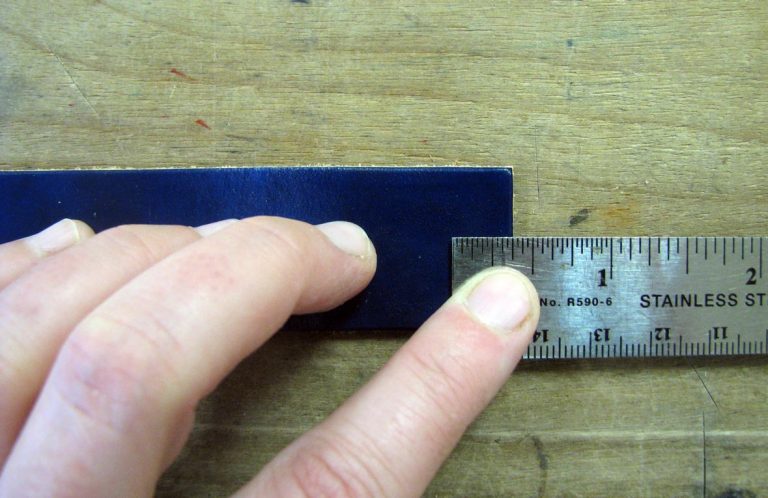
Measure where to place your snaps on your leather strap.
The hole should be the same diameter as the snap post you’re going to use. For our large snaps with long posts, we use a 5/32” hole punch tool. You can refer to our video How To Punch Holes In Leather for more advice on this step.
Once you have your first hole punched, feed the end with the hole through the scissor snap and fold it over by about 1 1/4 inches. Make a mark where you’ll punch your second hole, such that it will line up with the first.
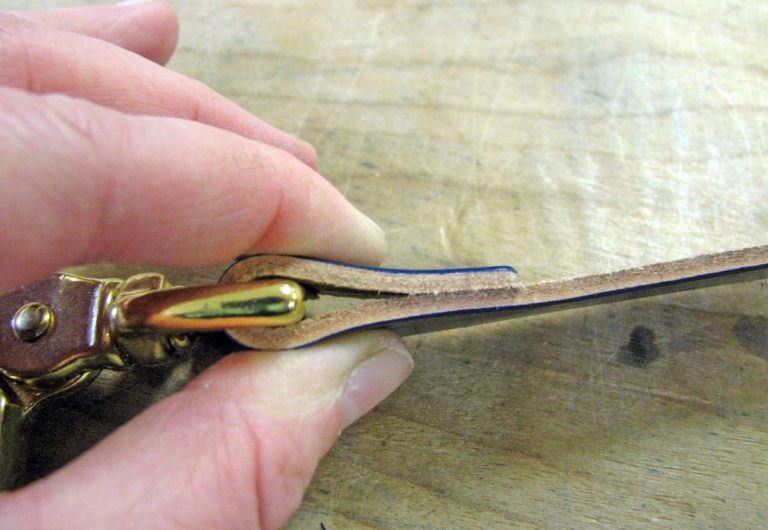
Fold the leather key chain strap over your scissor snap.
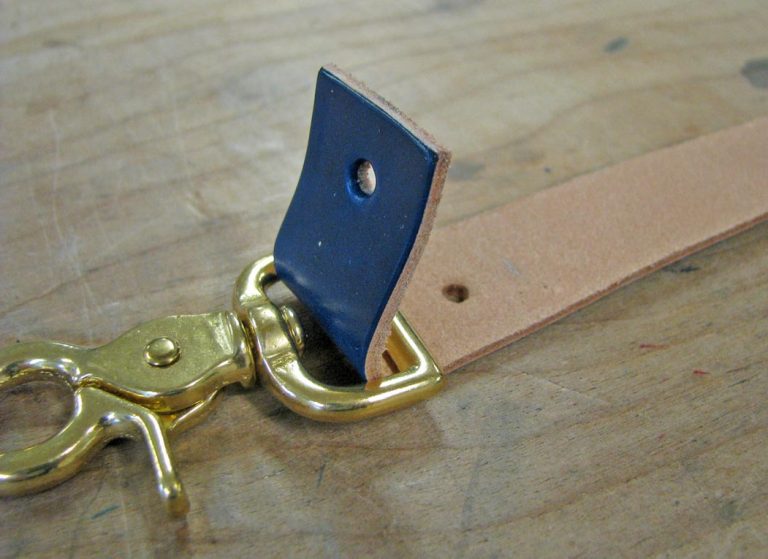
Punch a hole in the other side of your leather belt key clip.
Setting the Snap
To set the snap you will need a snap setter tool, a hammer, and a concave dot anvil. You will also need a solid surface to work on, such as a mini anvil, and sturdy table or work bench so that your snap won’t bounce when you’re setting it.
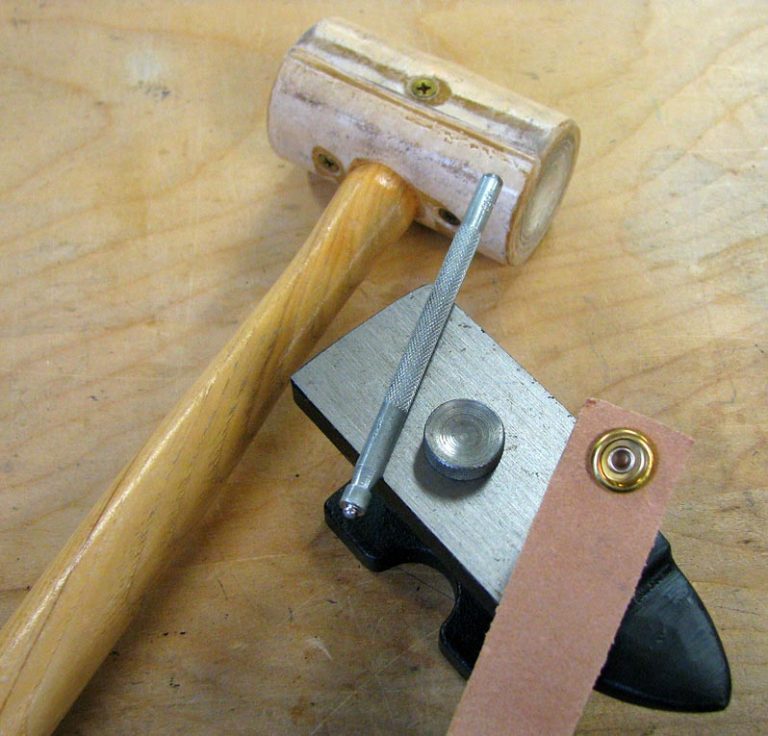
Tools for setting the snap in your leather lanyard (dot snap setter, dot anvil, mini anvil & mallet).
There are four components of a snap: the top cap and socket, plus the bottom post and stud. The interior socket that goes with the top cap has rounded edges with a wire spring in it. The stud that matches the bottom post has flat edges, and the same diameter as the post back. You can see the different snap parts being used on belt leather in our video How To Set Snaps With Long Posts.
First slide the scissor snap into the loop, and fold the end over so that the holes match up. Put the bottom post up through the right side of the loop. Place the corresponding stud on the other side, as shown. Set these against the flat side of the dot anvil, or against a traditional flat anvil. Since the snap is going through two layers of leather, we used the large jacket snap with long post (post and stud) for this end of the leather strap.
Position the snap setter on top of the snap and hammer downwards with a few sharp blows. Test that the snap is securely set and can’t be spun around.
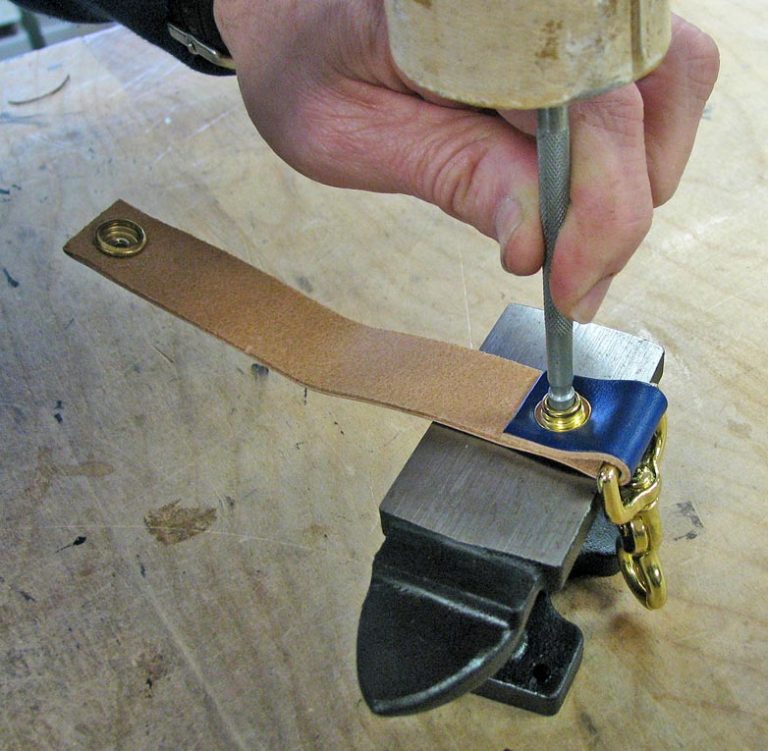
Set the stud and post snap parts on a flat anvil.
Once you have the bottom snap on, wrap the belt clip around your belt to adjust the size. Make a mark where the top snap will go, and trim your strap shorter if necessary. Place the mark for the top snap at least 3/8” in from the end of the strip.
Punch a hole and set your top snap the same way you set the first, with the cap side facing down against the concave indentation in the round dot anvil. Since the snap is set through only one layer of leather on this end of the strap, we used the large jacket snap with regular cap post (cap and socket).
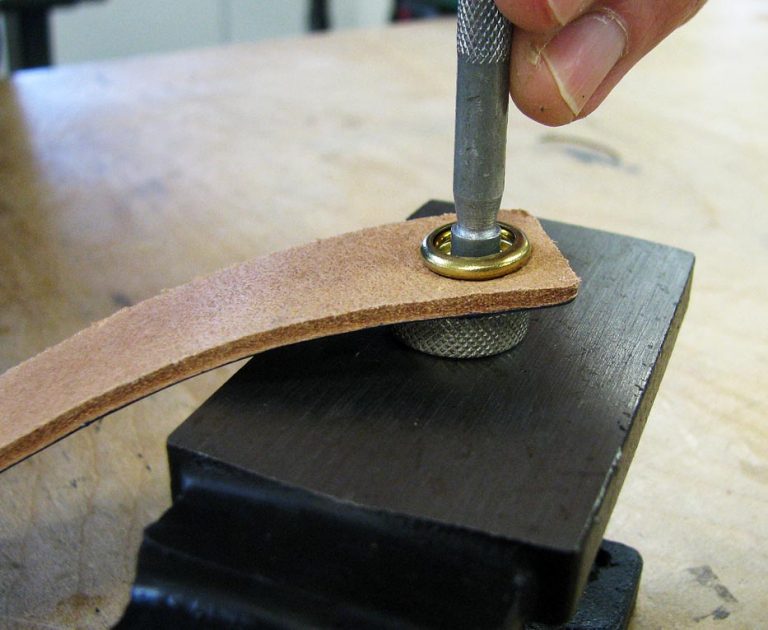
Set the socket and cap snap against a concave anvil.
Permanent Leather Lanyard Rivet Option
If you prefer to have a permanent lanyard attached to the scissor snap instead of the removable type described with a snap, use a rivet instead. A medium rapid rivet will go through 3 layers of 5-6 oz tooling leather. If you use a thicker leather, you may have to use a longer rivet. A variety pack of different sized rivets with a rivet setter is a good way to start if you don't know what size rivet to use for your thickness of leather. This is a good video to introduce you to How To Set A Rivet In Leather.
The Finished Leather Belt Key Holder
Here is the final leather belt key holder! If you make this project please send us a picture to share on our leather facebook page, and let us know how things went for you.
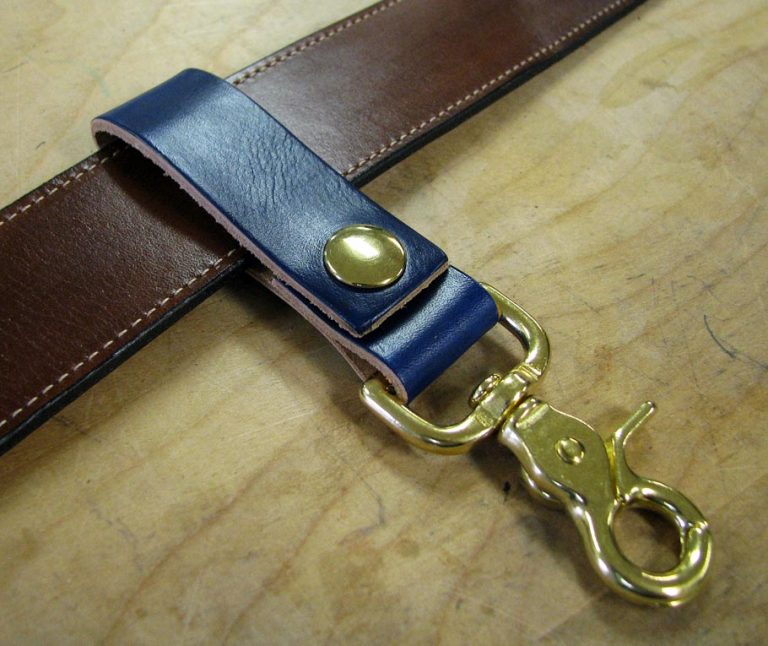
Finished leather belt key holder.

