Making Customized Guitar Straps
Leather Hide For Making Customized Guitar Straps
First a premium piece of tooling cowhide must be chosen to avoid marks and nicks that could be visible in the finished leather craft project. 5 – 6 oz leather thickness works well for making customized guitar straps to give the required strength but also enough suppleness. We choose leather that has been properly prepared on the underneath side from the tannery so there will be no fuzzy pieces of leather coming off on your clothes when you are wearing the guitar strap. Leather hides are supplied in various thickness for different leather craft projects.
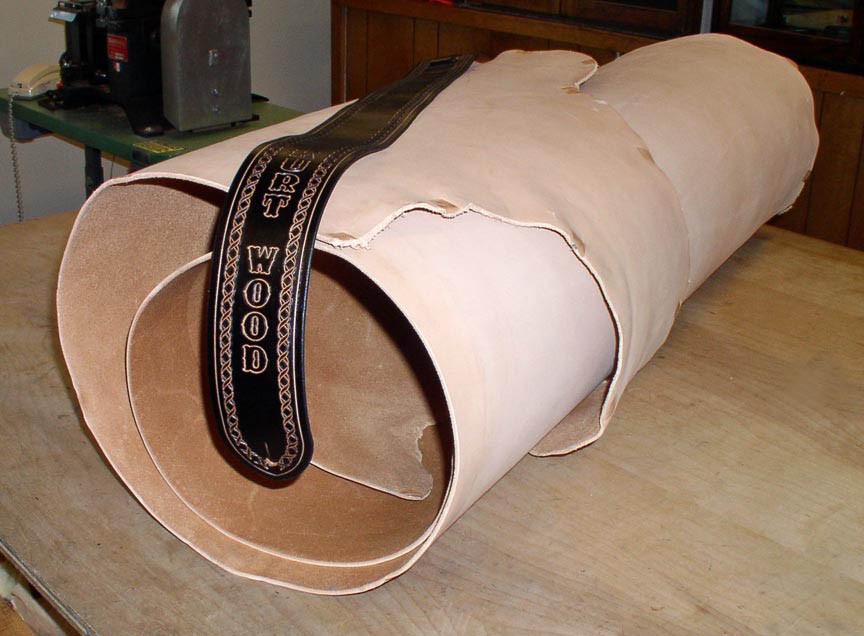
All our custom guitar straps are cut from quality premium tooling cowhide.
Stamp Design
After the leather guitar strap has been cut, we dampen it with water on the top surface only. A firm solid flat surface to work on such as a piece of marble or granite is used when making customized guitar straps. When stamping the guitar straps, we need a firm and solid surface so the stamp tool will not bounce when we hit it with the rawhide mallet. As we stamp the design down the guitar strap, the water will start to dry out so we will have to dampen it again with a wet sponge. If we want to stamp in a name, now is the time to do that as well. This is a labor intensive process since not only each stamp has to be lined up neatly but each stamp has to be hit with the same hardness so the design will all be the same depth. There are lots of leather craft stamps available to decorate your special leather project.
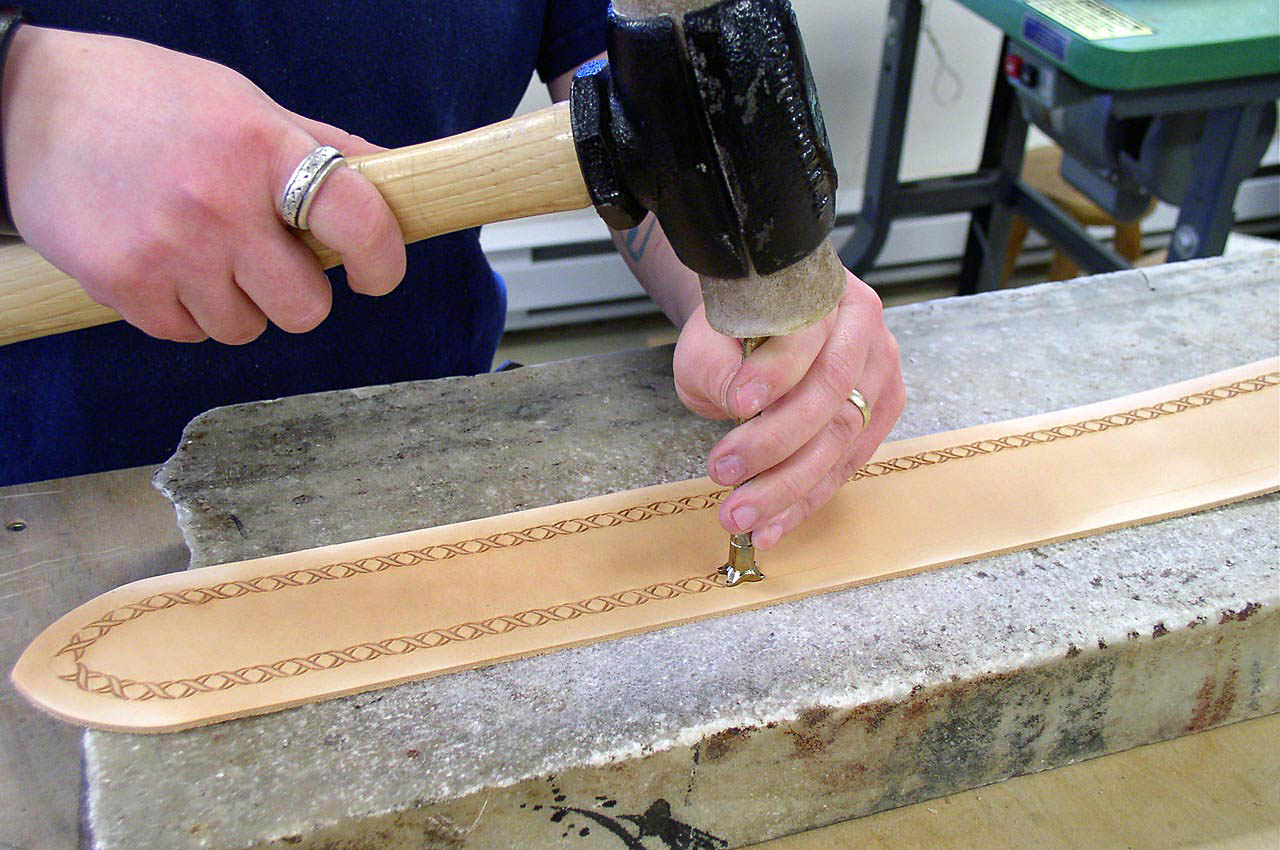
When making customized guitar straps, designs and lettering can be hand stamped into the damp leather.
Dye Leather
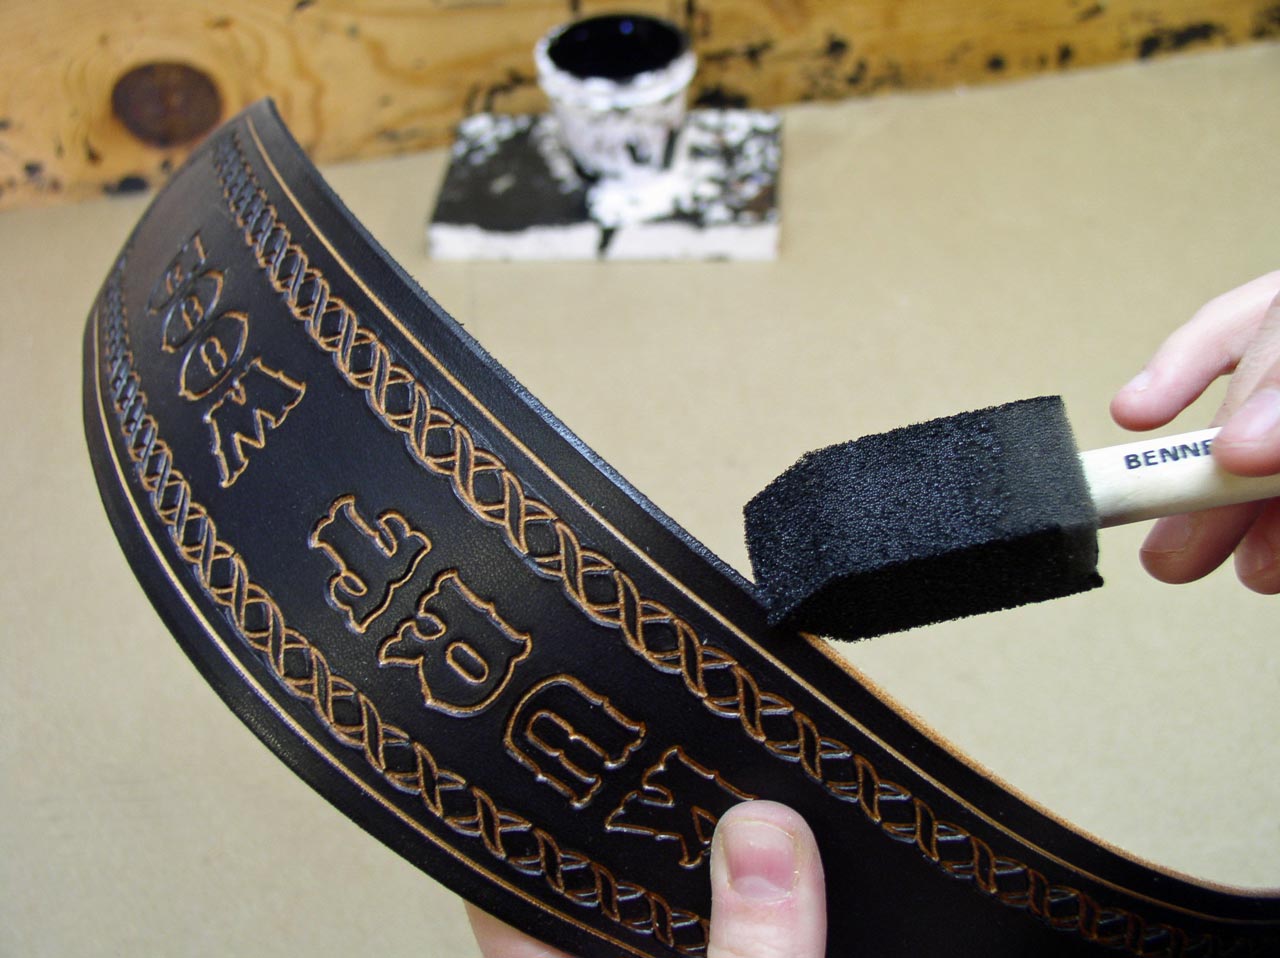
After the water has dried from the leather, we are ready apply leather dye the top surface of the leather. Professional oil dye by the Fiebing Company is used for coloring our guitar straps. It penetrates deeply into the leather while allowing the natural grains of the leather to be seen. Although it is more expensive, we choose to use it so we will not have to worry about rub off like some poorer quality leather dyes. However, Eco Flo dye also works well and is less expensive to ship since it is not flammable, it does not have to be shipped a special way and therefore is often less expensive to ship. We have a folded piece of flannel cloth nailed to a wooden block. The cloth makes a nice applicator to rub the dye into the leather. The wooden block allows us to hold the applicator easily. Protective gloves are worn so we won’t have to have our hands dyed for weeks. The dye is rubbed on the guitar strap being very careful not to get it into the stamped design. This is a tedious time consuming process when making customized guitar straps. Many applications are applied to get an even coverage and the desired darkness we want. Keep in mind that this leather dye is meant for natural undyed vegetable tanned leather and not meant for redying leather that has already been colored.
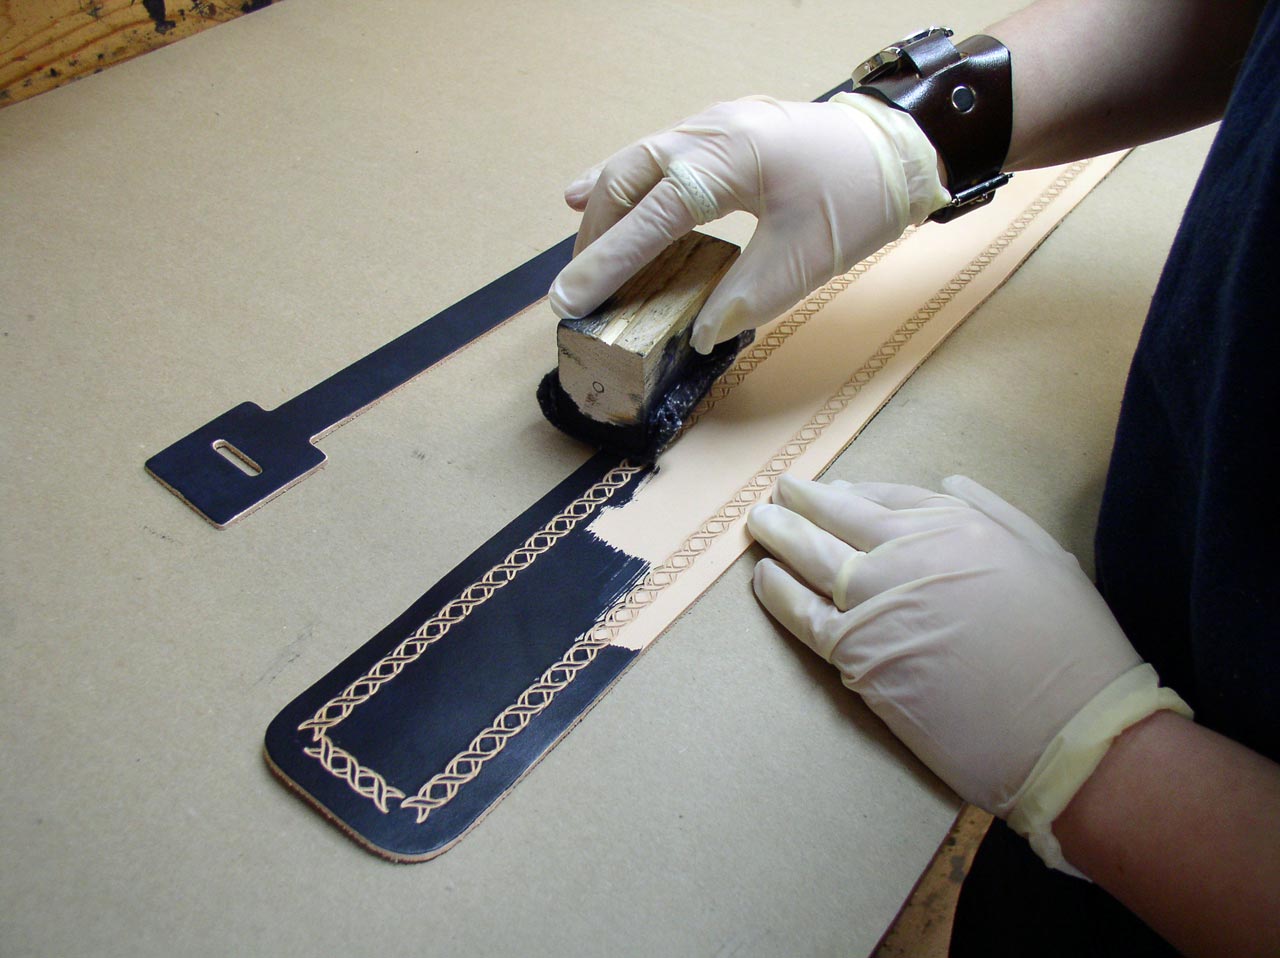
The custom leather guitar strap is dyed by hand, being careful not to go into the imprint.
Border Design
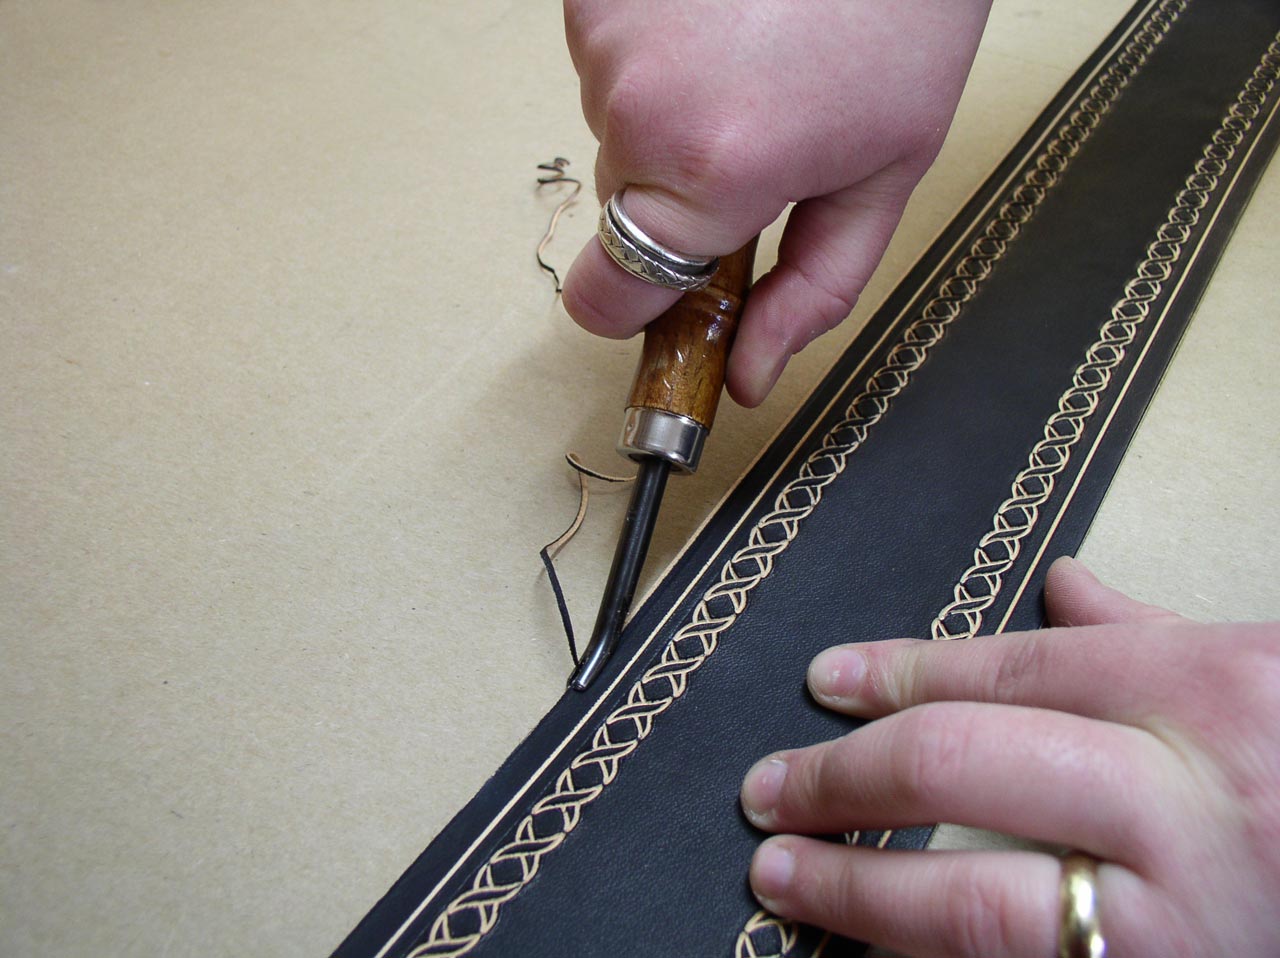
Once the dye has dried, we can make a boarder design along the guitar strap with this groove tool. This adjustable groover tool is also used for making stitch grooves for doing sewing for other leather craft projects. There is a small set screw which allows us to adjust how far from the edge we want the groove to be. This groove tool is also a great leather craft tool to make channels for sewing other leather projects.
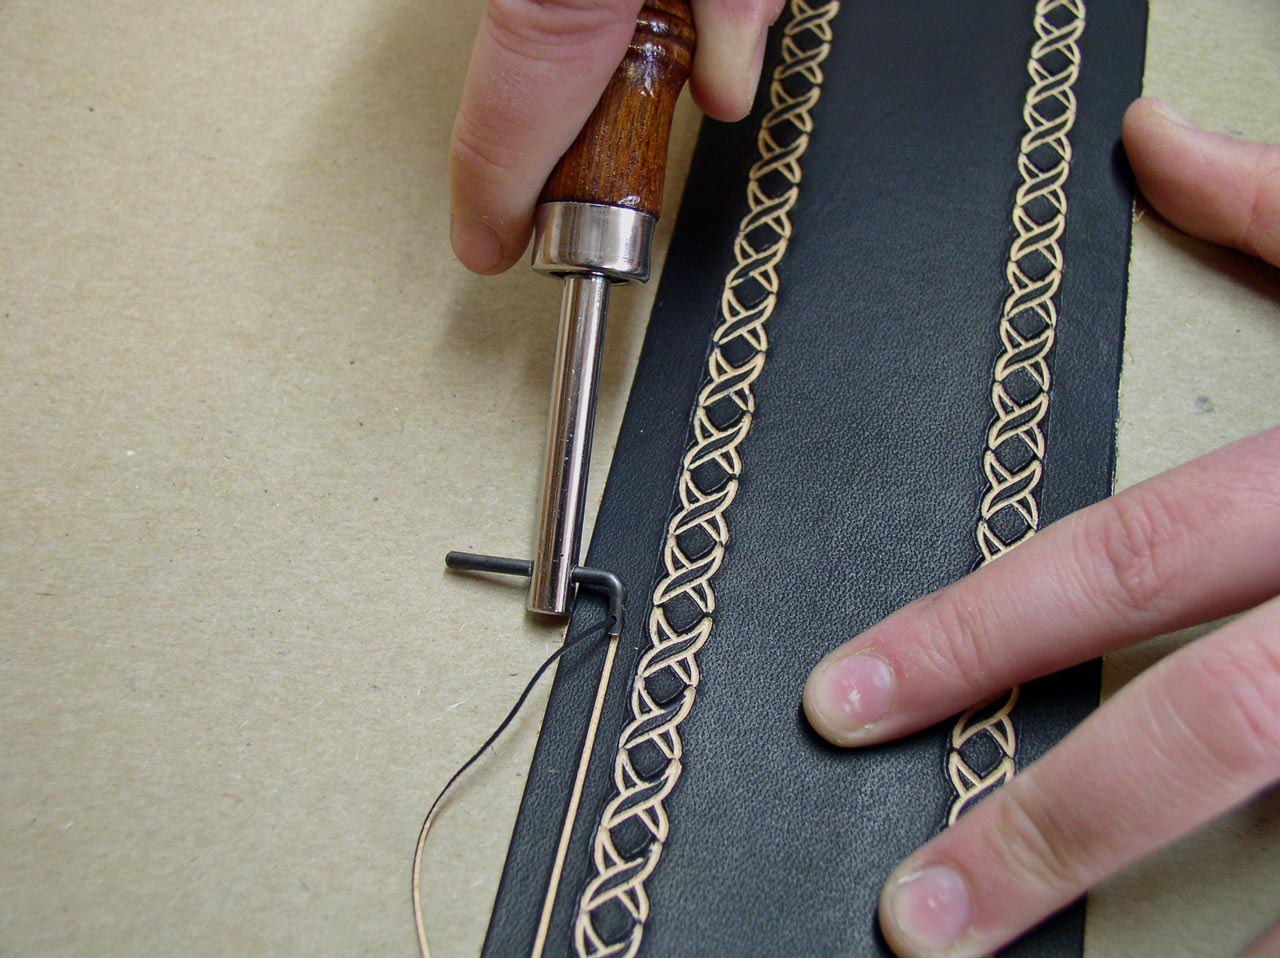
A boarder line adds a nice touch to our imprinted guitar straps.
Round Edges
Rather than have a square edge, we round the edge of the guitar strap with this beveller for a more finished look. There are different size bevellers for taking off a little from the edge to a lot. When making customized guitar straps, we even bevel the underneath side for a more comfortable feel on the shoulder. Although we bevel both the top and bottom side of our guitar straps, the bottom is a lot harder to do. Using proper leather craft tools makes the job a lot easier. Now that all the design work is in the leather, we dip the guitar strap into a vat of neatsfoot oil compound to keep the leather from drying out and to give it some more suppleness. After the neatsfoot oil is absorbed over a few hours, we touch it up a bit more with some neatsfoot oil on a brush to even out the color since the neatsfoot oil darkens the leather.
The corner edges are rounded with a bevelling tool.
Dye Edges
The edges of the guitar straps are dyed with a different dye than the surface. We use Fiebing’s acrylic dye because it holds down all the edge fibers of the leather. Since it is a hard finish, we burnish the edges when dry with beeswax using a denim applicator. Now the surface is ready to have a couple coats of polish, letting each coat thoroughly dry before the next is applied. There are many polishes for leather that will work well. However, we choose Fiebing’s Resolene since it helps seal the dye as well as giving a brilliant quality finish to the leather. There is also other types of leather polish that give a nice finish on the leather. The leather polishes we supply are made for vegetable tanned leather.
Dyeing the edge of the guitar strap.
Slot Hole Punch For Making Customized Guitar Straps
We punch the slots for adjustment and the round holes for the guitar knobs using a heavy rawhide mallet and an oblong slot punch. So we will not get bounce when we punch the holes, we use a solid wooden tree stump as a work bench. These oblong leather hole punch tools are also used for the slot when using a buckle in a leather craft project.
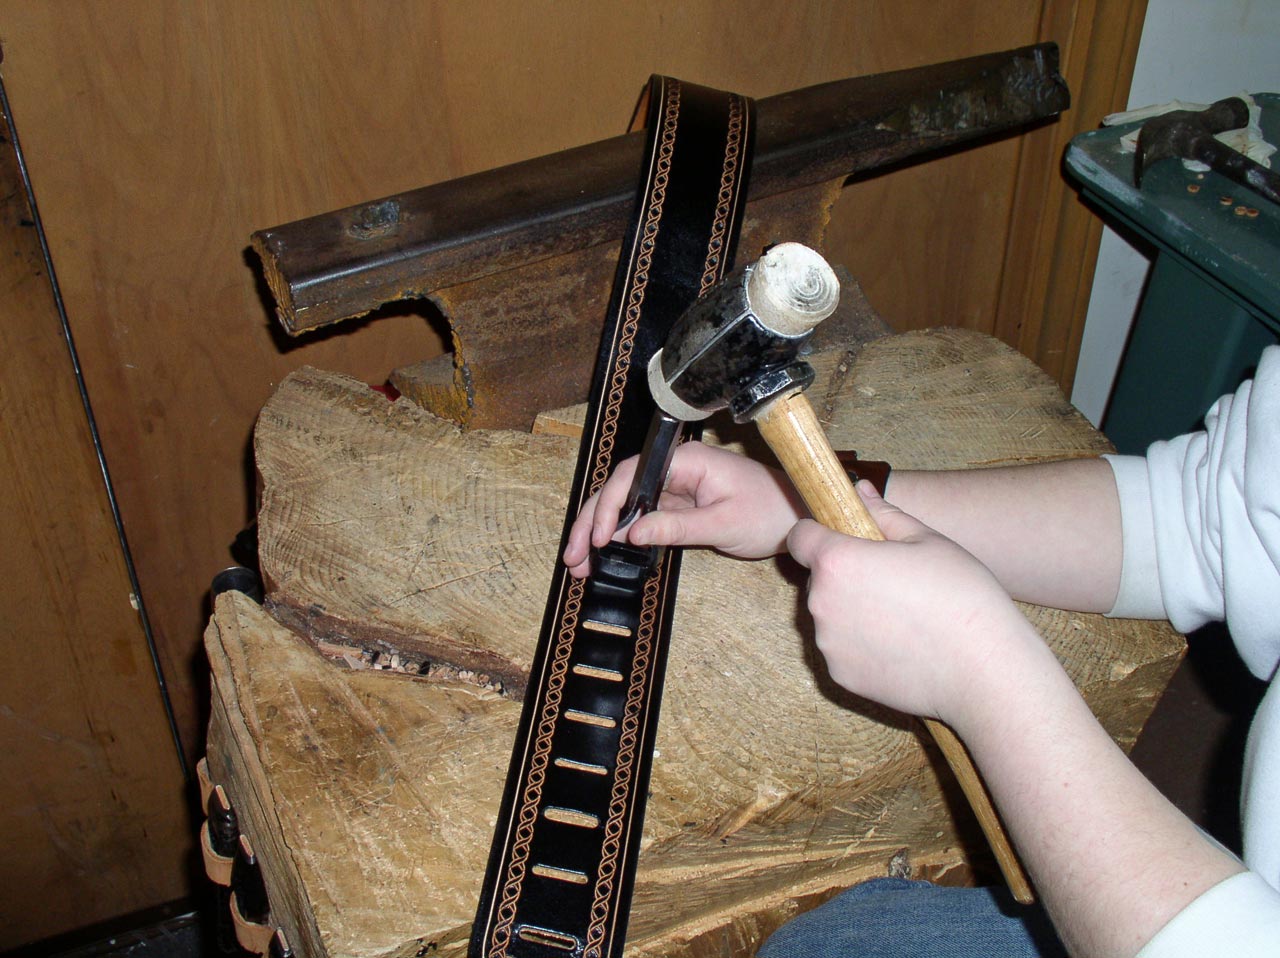
Punching oblong holes for making customized guitar straps adjustable.
Guitar Strap Finished
Now the customize guitar strap is finished and ready to be worn by a musician. This quality personalized leather guitar strap will last for many years and will become more supple with wear. You can see what has been involved in making customized guitar straps from the unfinished piece of leather to the finalized leather craft product. See more of our finished guitar straps on our web page custom leather guitar straps. If you do leather craft work and enjoy making customized guitar straps, check out our leather craft supplies pages for leather hides, leather tools, hole punches, leather craft stamps and leather dyes.
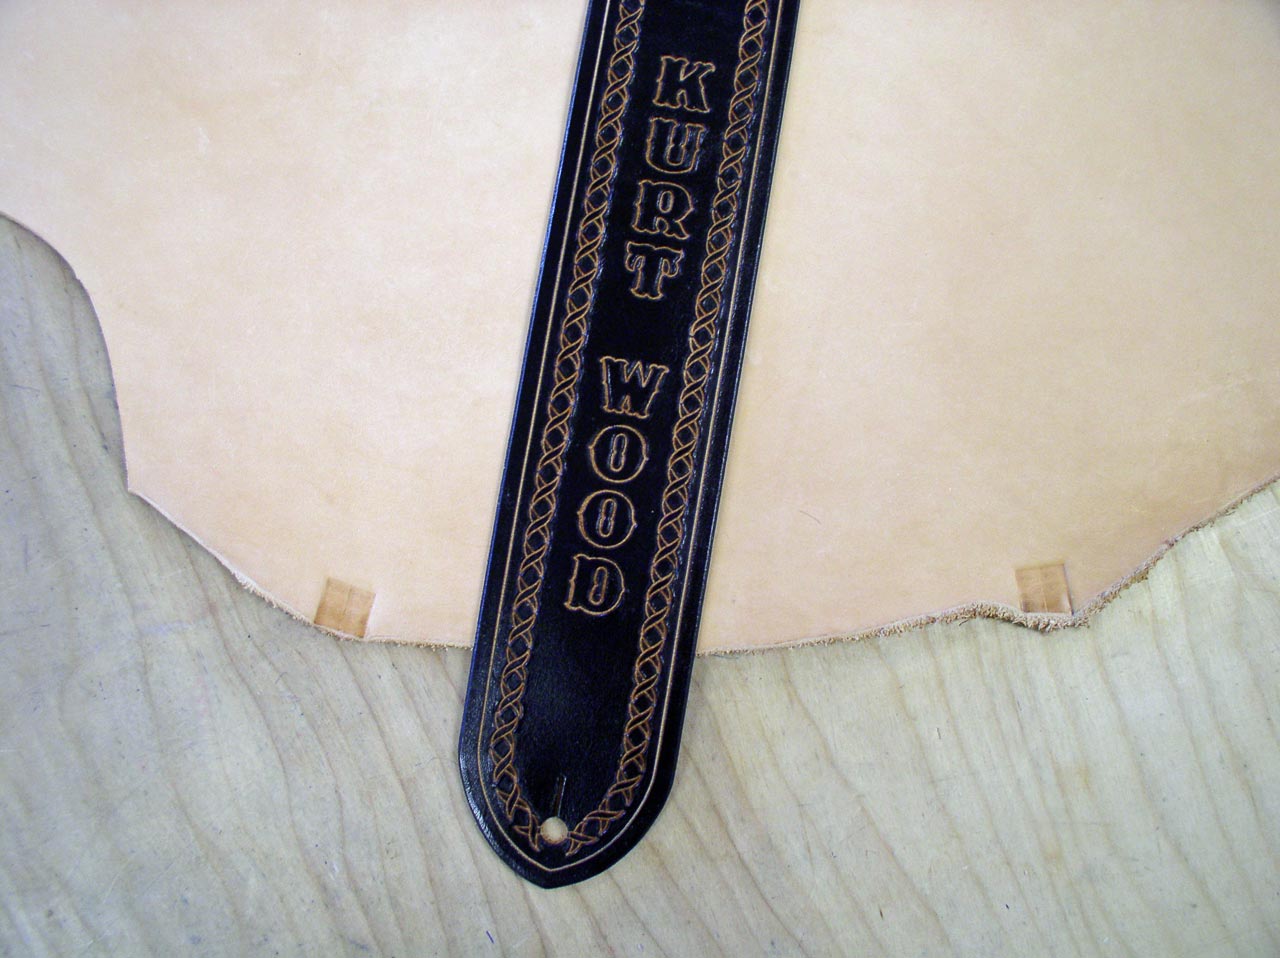
Finished custom guitar strap on cowhide it was originally crafted from.


