Tealight Candle Holders Leather Project
How To Make Wood Candle Holders
These vintage candle holders were made by Alana LeBlanc, using reclaimed pallet wood and scrap leather. This is a good project for people looking to improve their leather crafting skills whilst using up spare scrap materials. Any flaws will just add to the rustic look of the tealight candle holders leather project. These leather decorated wood candle holders make great personalized gifts.
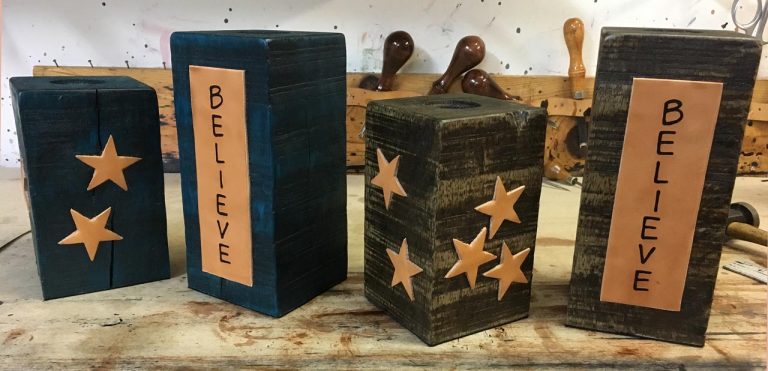
The finished leather project: tealight candle holders.
Preparing the Wooden Blocks
Cut your pallet into manageable pieces and cut to size with a hand saw or chop saw.
Trace your tealight in pencil onto the tops of the candlestick holders, and measure the diameter so you will know what size drill bit to choose. Measure the height of the metal cup for the tealight to determine how deep you will need to drill. Secure the wooden block in a clamp so it will not spin when you drill. Wear safety glasses and hold the drill perpendicular to the top of the block and drill to the desired depth.
Apply wood stain to your candlestick holders with a wet sponge brush, to best cover any crevices in the rough wood. Before each coat dries, wipe off excess stain with a damp cloth. Seal with varathane satin finish.
Cutting the Leather
We use a cutter to make these stars, but you can also print out a paper template of the pattern you want, trace it onto the leather, and cut using a sharp utility knife and a straight edge.
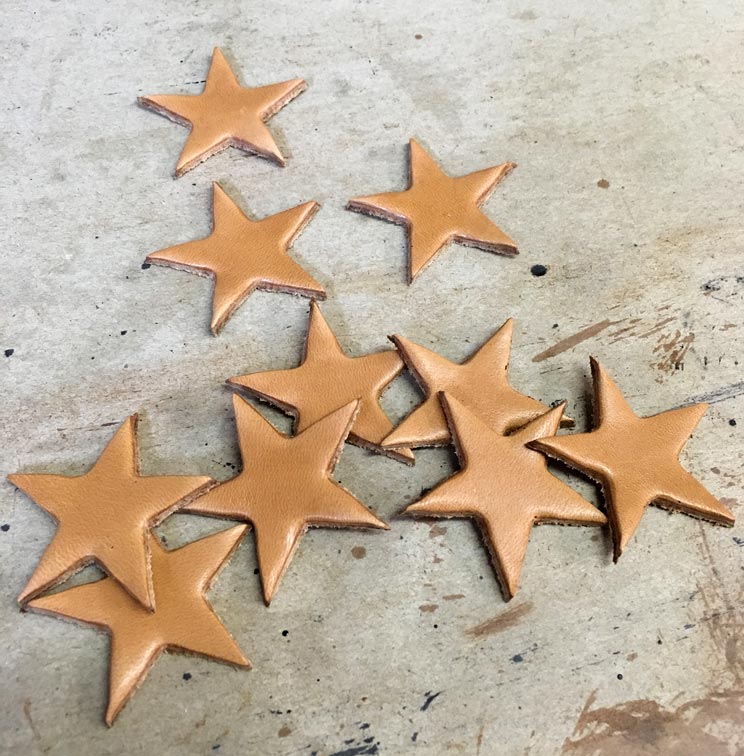
Cut out decorative star pieces for your candle holder leather craft project.
Etching Your Leather Project
Make a template for the design you want to etch. You can do this by drawing or printing your design onto regular computer paper. If you want to etch a word, a thicker font with rounded edges will be easiest to replicate with the etching tool.
Wet the top of your undyed tooling leather with a damp sponge of water, and line up your template on top of it. Using a sharp pencil, trace over the design with a firm hand. This will mark the leather underneath and create a guide for your etching. You must use undyed tooling leather also known as vegetable tanned leather and carving leather in order for the leather to accept the etching or hand stamped designs.
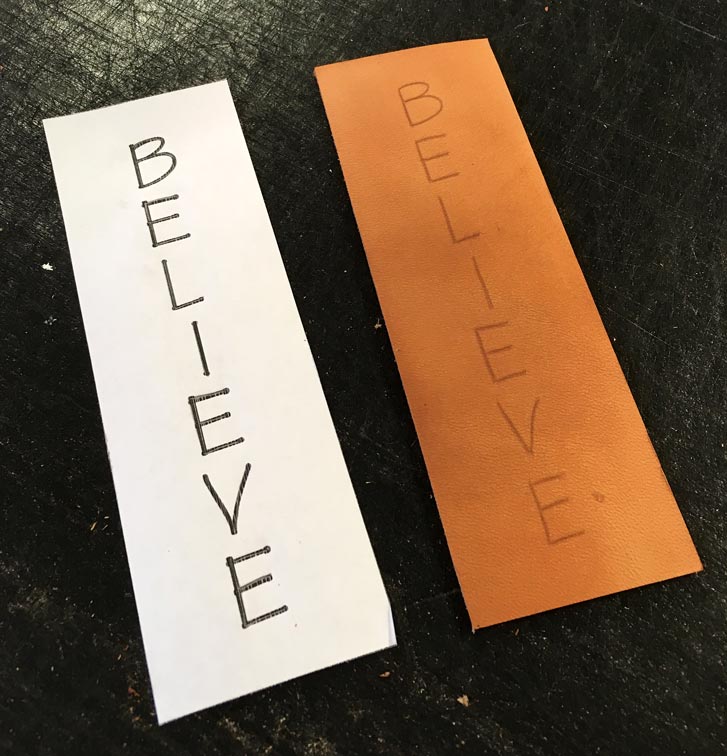
Use a pattern to trace a personalized message onto your leather pieces.
Discard the paper template and re-wet the leather. Trace the design again with a rounded modeling leather craft tool, applying steady pressure. Retrace and touch up the etching until it has a consistent depth. The goal is to indent the leather, not to cut into it, so don’t be too rough at this stage. Designs can also be imprinted in the tooling leather with leathercraft stamp tools as shown in this article on tooling and dyeing leather guitar straps.
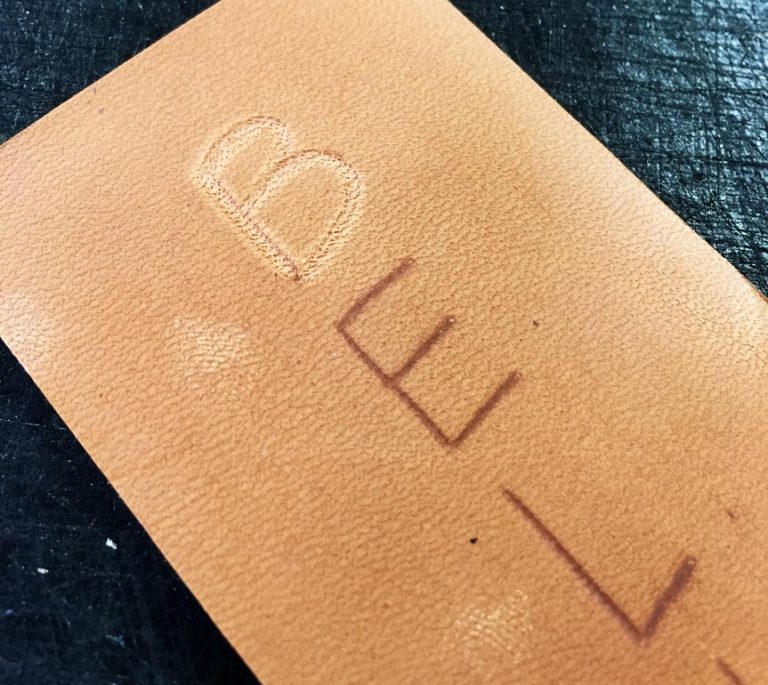
Etch lettering to personalize your leather pieces.
Painting and Finishing
Once you’re happy with your etching, there are several options for finishing the leather. Alana’s pieces for this project have been brushed with neatsfoot oil, a leather conditioner. You might also color the undyed tooling leather with a leather dye. Apply two or three coats of leather dye with a dry flannel cloth or sheep’s wool. Then apply the neatsfoot oil, if using. The conditioner will darken the leather.
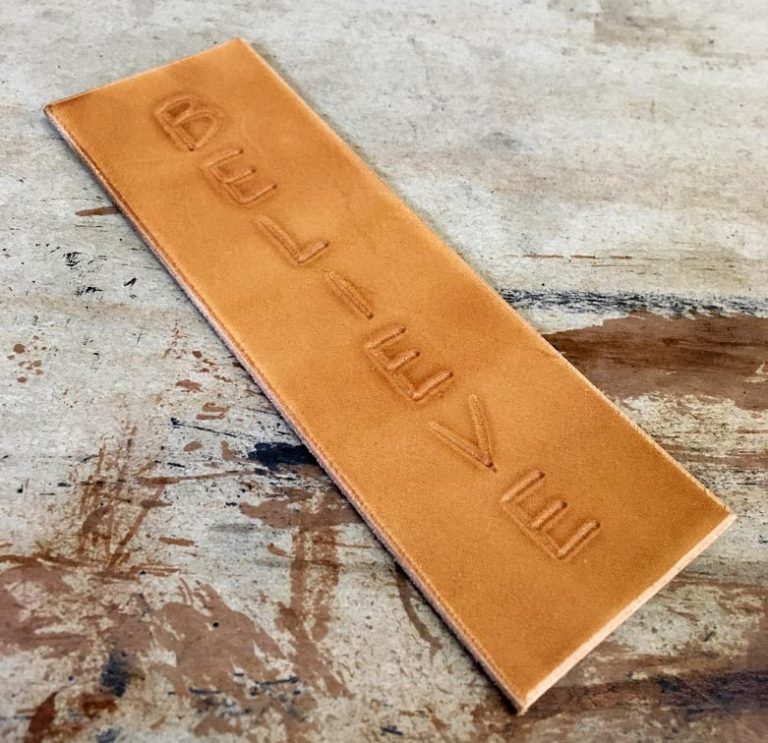
Use neatsfoot oil to darken your leather panel.
Wait an hour or more for the oil to soak in. Finish by polishing the leather with Fiebing’s acrylic resolene, if you want a glossy look. Apply two coats of polish with a damp cloth, brushing in the same direction with a light hand. Let dry for ten minutes after each coat.
The last step is painting the etched designs with acrylic dye. We use the round headed modeling tool but you can also use a fine artist's brush for this.
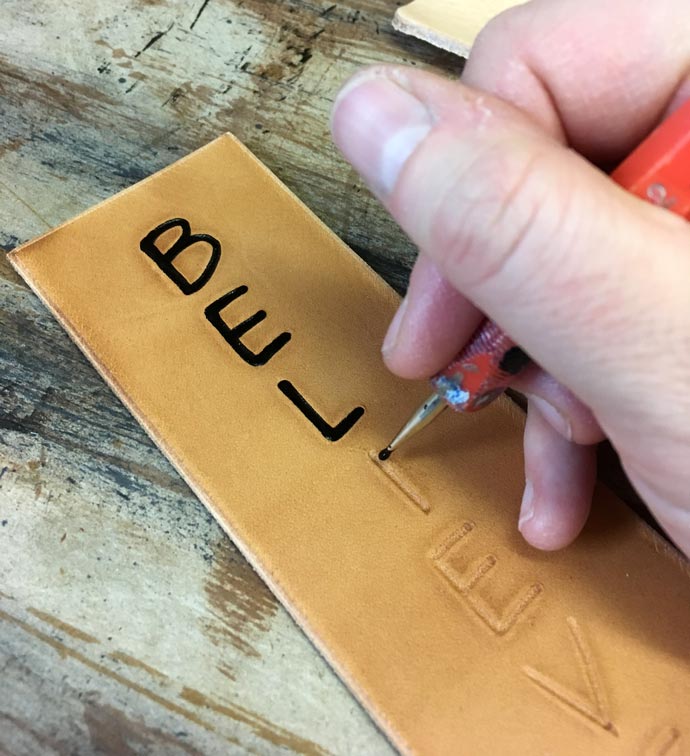
Handpaint letters onto your etched pieces for the leather project.
Gluing Leather to Wood Candle Holders
Position your leather pieces where you want them on the wooden candlestick holders, and trace them in pencil.
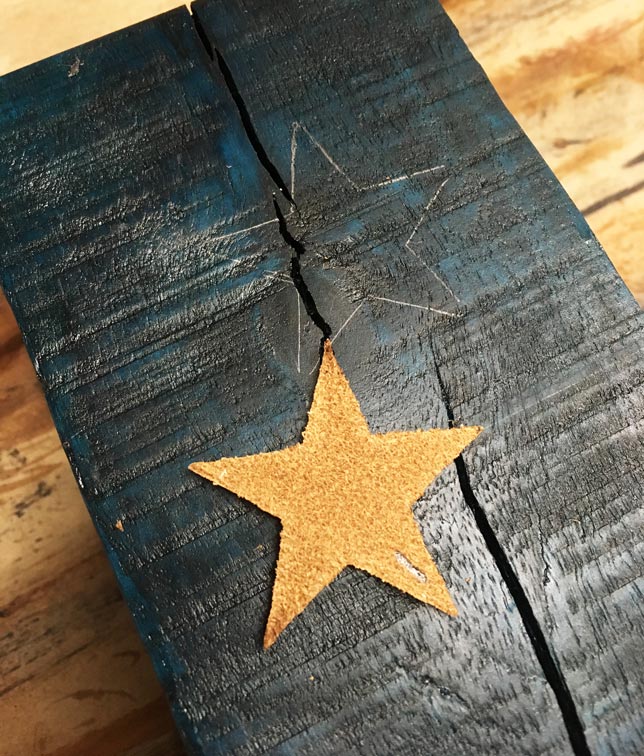
Trace the decorative leather pieces onto your wood candle holders.
Apply contact cement to the back sides of the leather, and to the wood where the designs will be placed. Once the glue is dry, stick your leather pieces onto the candlestick holders and tap with a cobbler’s hammer to firmly adhere.
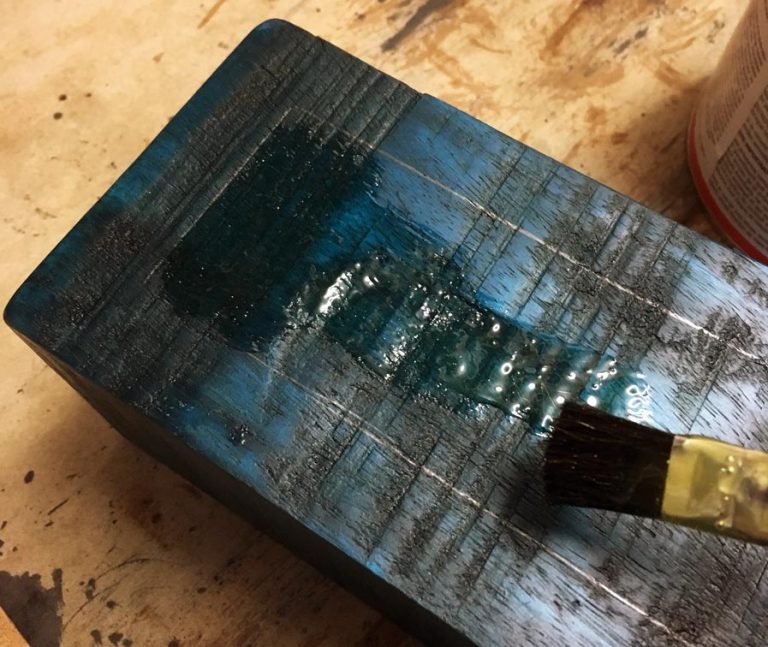
Apply contact cement to the wood candle holders.
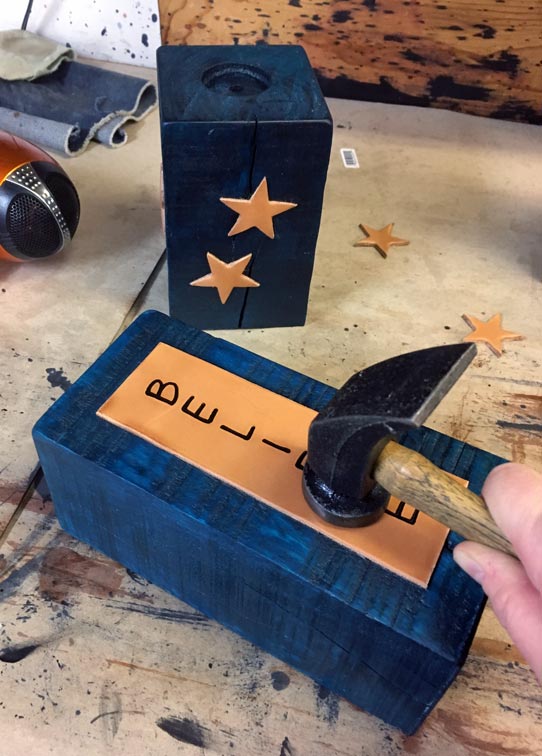
Tap decorative leathercraft pieces with a hammer to cement to the tealight candle holders.
The Final Tealight Candle Holders Product
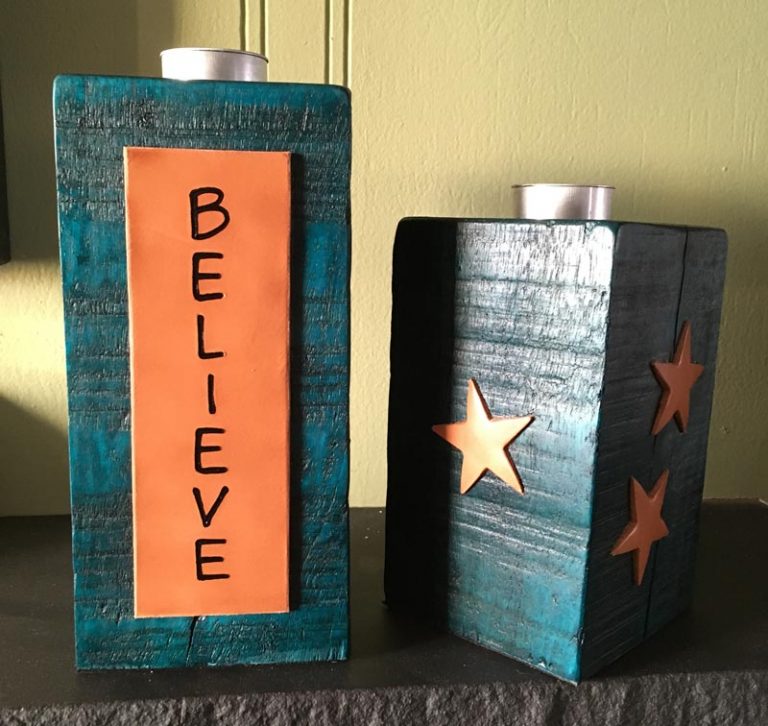
The finished tealight candle holders.
If you make this project let us know how things went for you, and send us pictures so we can share them!


