
Setting Snaps in Leather - Using Snap Setter Tools
Types of Snaps In Leather Crafting
Today we will be discussing setting snaps in leather and in particular how to use the snap setter tools for jacket snaps! Jacket snaps are the most common type of snaps for leather craft. Jacket snaps can be used for a wide variety of different leathercraft projects, including bags, purses, cases, leather clothes, bracelets, and belts. Other types of leather snap fasteners used in leatherwork but to a much lesser extend in our opinion are bar snaps, segma snaps, glove snaps, pull the dot snaps, and hard action snaps.
Also, snaps come in different finishes and base metals. Most jacket snaps used in leather craft are steel snaps. However, if your leather item is constantly exposed to a lot to the wet weather, you may want to use a jacket snap that is made of solid brass or stainless steel as they will not rust.
Sizes of Jacket Snaps & Snap Setter Tools
There are different sizes of jacket snaps depending on the thickness of your leather, and how sturdy you need them to be i.e. regular post line24 jacket snaps vs long post line 24 jacket snaps. Snaps are a great closure solution and are easy to set with the proper tools. Keep in mind when buying setters for jacket snaps that you will need different size setters for different size snaps (small line 20 snaps would need a line 20 snap setter, whereas large line 24 snaps would need a line 24 snap setter).
Also, CS Osborne have some nice snap setter tools. C.S. Osborne have been making quality leather tools in USA since 1826
The deluxe snap all rivet setter set, which is one of our favourites, is a great tool set since it has setters for line 20 snaps, line 24 snaps and rapid rivets. The setters in this set are a little heavier duty than the individually sold snap setters mentioned in the first paragraph of this section.
The line 24 snaps are a sturdier closure than the smaller jacket snaps which are line 20 snaps. The line 24 jacket snaps have a wider diameter than the line 20 jacket snaps.
The small jacket snaps line 20 work best with a leather thickness in the range of 3-6 oz. An oz (ounce) is the leather term used for leather thickness which is 1/64-inch thick.
Our large jacket snaps line 24 with a regular post length work best with a leather thickness range of 5 - 7 oz. Often leather workers thin the part of the solid leather belt that wraps around the buckle. These snaps work great for that.
However, if you are putting snaps on a belt that is 8 - 10 oz thick and not thinning the leather portion that wraps around the buckle, you will need a jacket snap with a longer post. The line 24 jacket snaps with a long post work great in this situation.
If you are using extremely thick leather that is 10 - 13 oz thick, you will need another type of jacket snaps. For example a solid brass snap line 24 snap with a long post will work best for this thickness. Not only is the post long but the platform that the post crimps over is called a low platform stud which allows it to work on thicker leather.
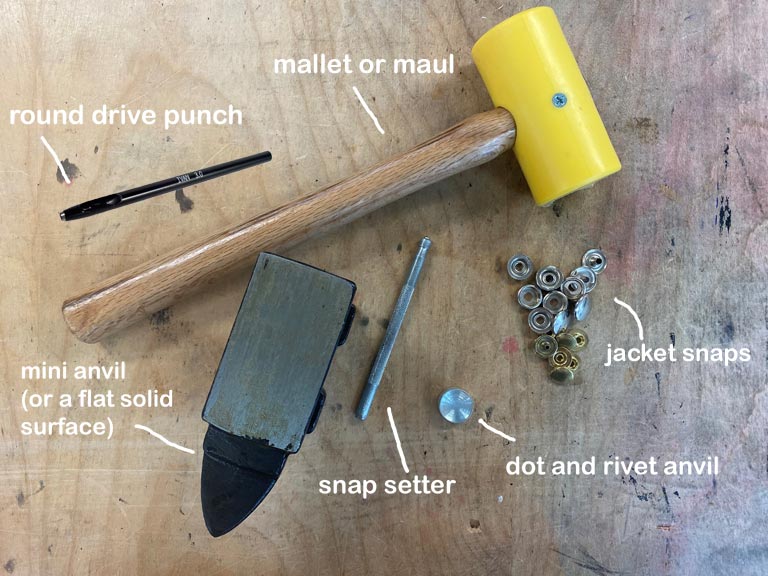
Leathercraft tools for setting jacket snaps
Punching Snap Holes in Leather
Once you have chosen your leather and the appropriate snaps and tools, you need to punch two corresponding holes for the snaps. You can use a rotary hole punch or an individual drive punch to make the holes. However the important thing is to ensure that the size of the holes match the size of your snap post, so they fit through the hole but are not loose. A leather hole punch that is 5/32-inch works well with line 24 snaps and a 3/32-inch diameter round hole punch works well with line 20 snaps. You also want to make sure that you are not punching the holes too close to the edge of the leather as you do not want the snap part to extend over the edge. Also, you want enough leather extending beyond the snap cap to grab so you can lift up on the snap.
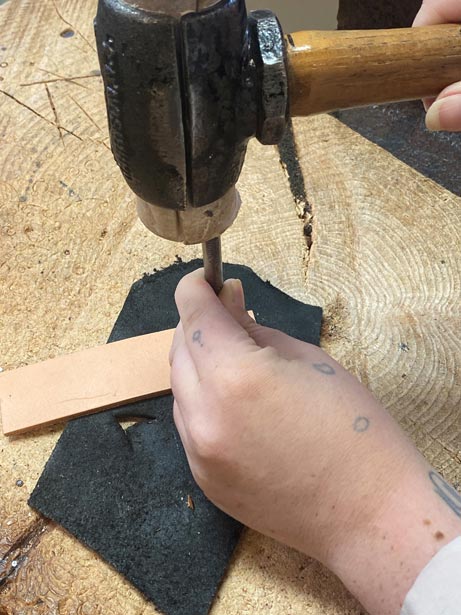
Punching holes in 5-6 oz thick leather with a 3/32-inch drive punch
Measure and mark where you want to make the holes in the leather to make sure they line up correctly for the snap parts. After you have your round holes punched, it does not hurt to make sure they line up the way you would like them to prior to setting the snaps.
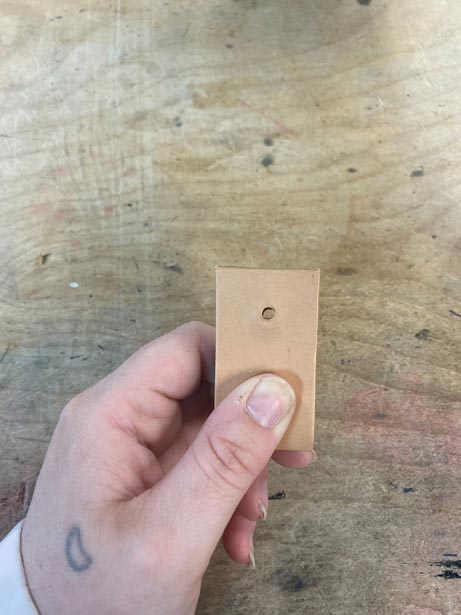
Aligning holes in leather to prepare for setting jacket snaps
Jacket Snap Parts
Once you are sure you are happy with where the holes are, it is time to start setting! The snaps consist of four parts, the cap and socket which go together, and then the stud and post (or eyelet) which go together.
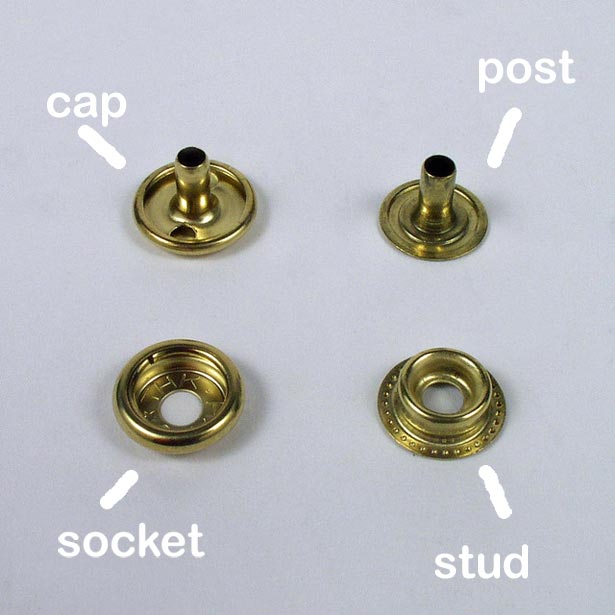
Components of jacket snaps; cap, post, socket, and stud
Setting Snaps in Leather
The work surface you use for setting snaps should be sturdy and not have bounce in it. You will now need your setting base/anvil and setting tool. You are going to take your piece of leather and put the stem of the cap through the finished side of one of your pre-punched holes. Next you are going to take your snap setting base such as the dot rivet anvil and place the cap, rounded side down in the correct sized divot. Next you can place your socket on top with the stem of the cap going through the middle.
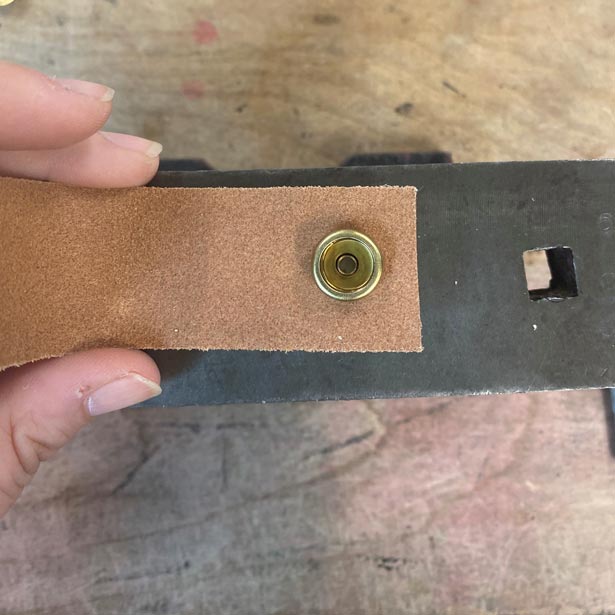
Socket sitting on top of snap cap.
You will then take your snap setting tool and place it on the stem. Next, take a mallet (make sure you do not use a metal hammer as you do not want to damage your snaps or your tools) and you are going to hit straight down a few times and then create a rotating motion with the setting tool while tapping lightly with the mallet to make sure it is crimped evenly. Hitting the metal snap setter with a metal hammer will eventually cause the end of your snap setter to start mushrooming. If a tool starts to mushroom, a piece could break off when struck which could be dangerous.
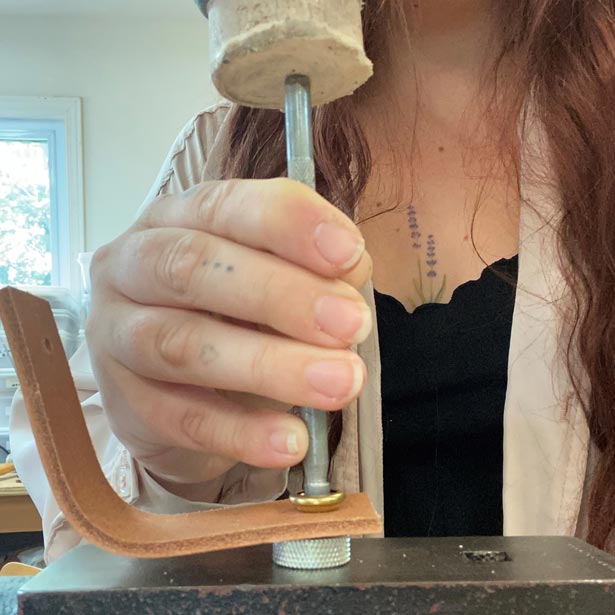
Setting snap cap and socket into leather with line 24 snap setter
Now for the post. In the following example such as a belt end, you are going to put your post through the finished leather side of the other hole. If you were making a bracelet, you would insert the post through the unfinished side of the leather. To set the post/stud, you will not need to use your dot and rivet anvil. However, you will need a hard flat surface, such as mini anvil or you can flip your snap setter anvil over and use the flat side of that tool. The post base will sit on the flat mini anvil. Once you have you post through the hole of the leather, you can put the stud on top, again ensuring the stem of the post goes through the center.
Snap stud on left sitting on top of post.
Now you can take your mallet and again, hit straight down a few times and then start tapping down while rotating the setting tool.
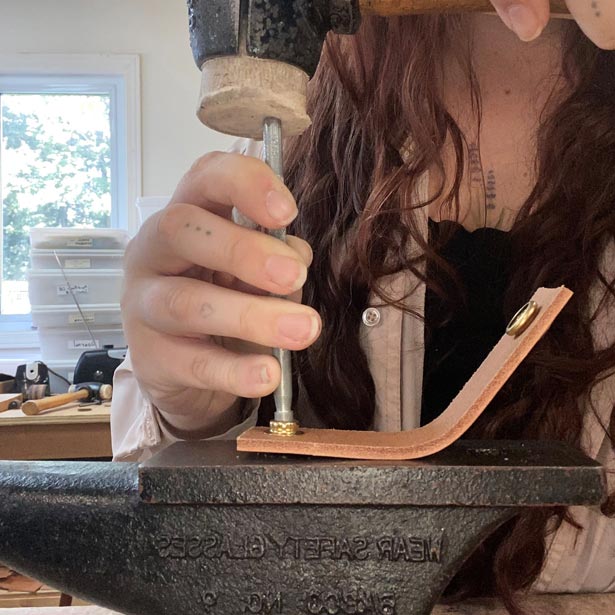
Setting snap post and stud into leather on mini anvil
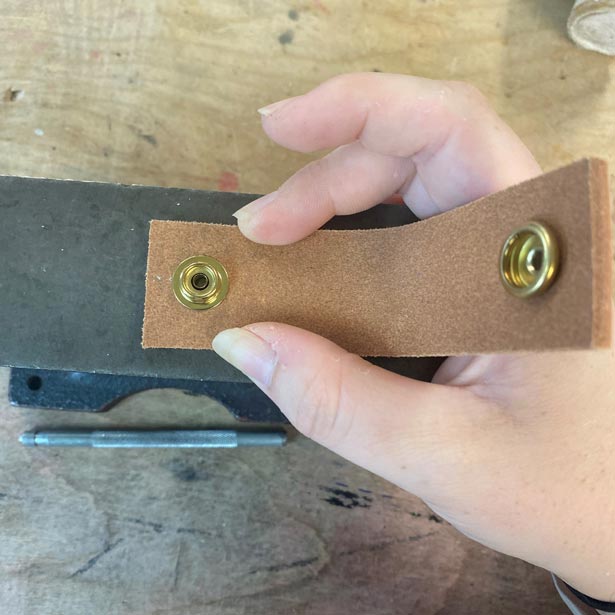
After you are all done setting your snaps, it is a good idea to snap them together and do a quick pull test.
And there you have it! That is all there is to setting snaps.
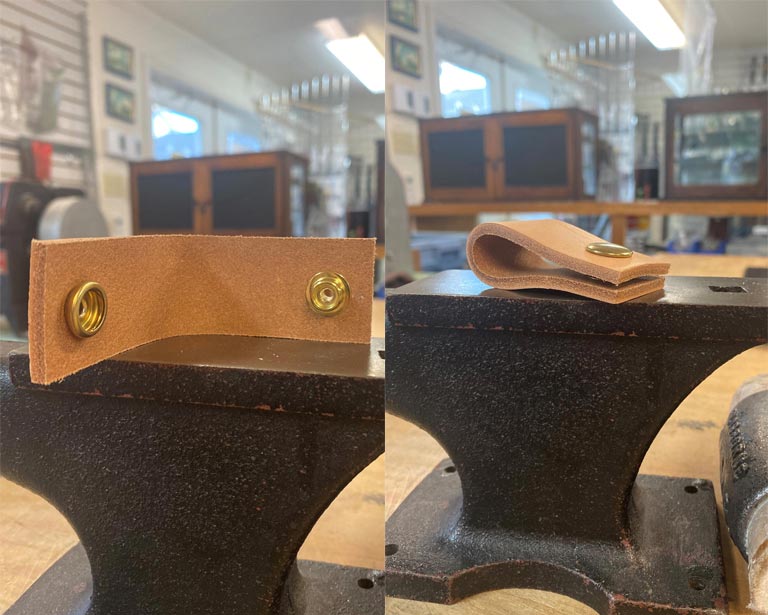
Gold large line 24 snaps set in leather
Video Tutorial on Using Snap Setter Tools to Fasten Snaps in Leather
Whether you use jacket snaps that are small, large, or long post, the setting procedure is the same. The snap parts are similar but of different sizes so the correct size setter must be chosen. Watch the following leathercraft tutorial on setting jacket snaps.
Setting snaps in leather tutorial video


